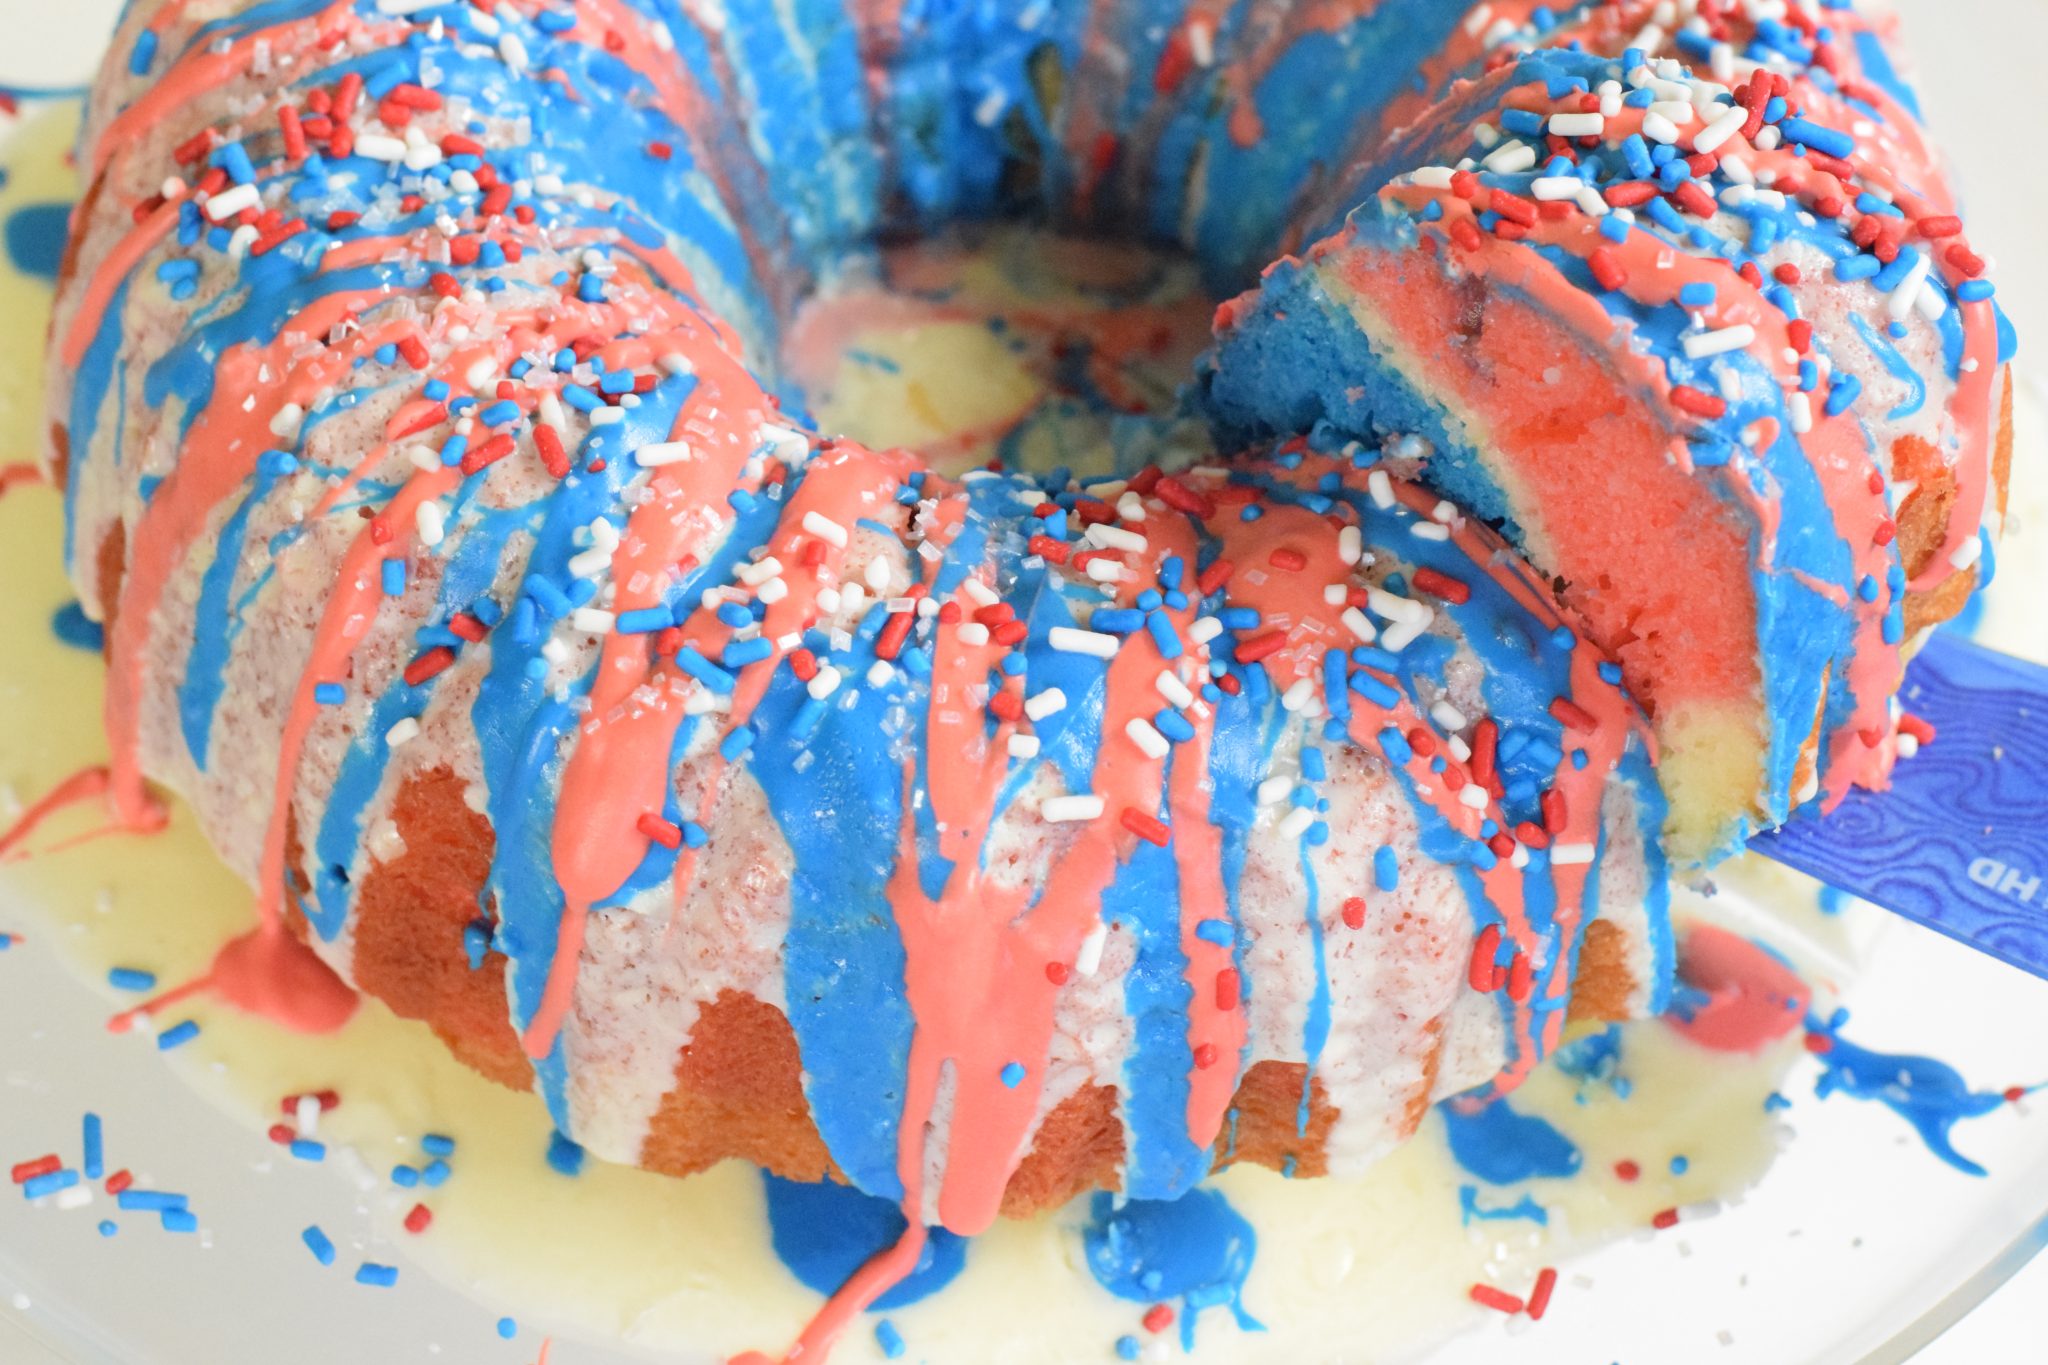
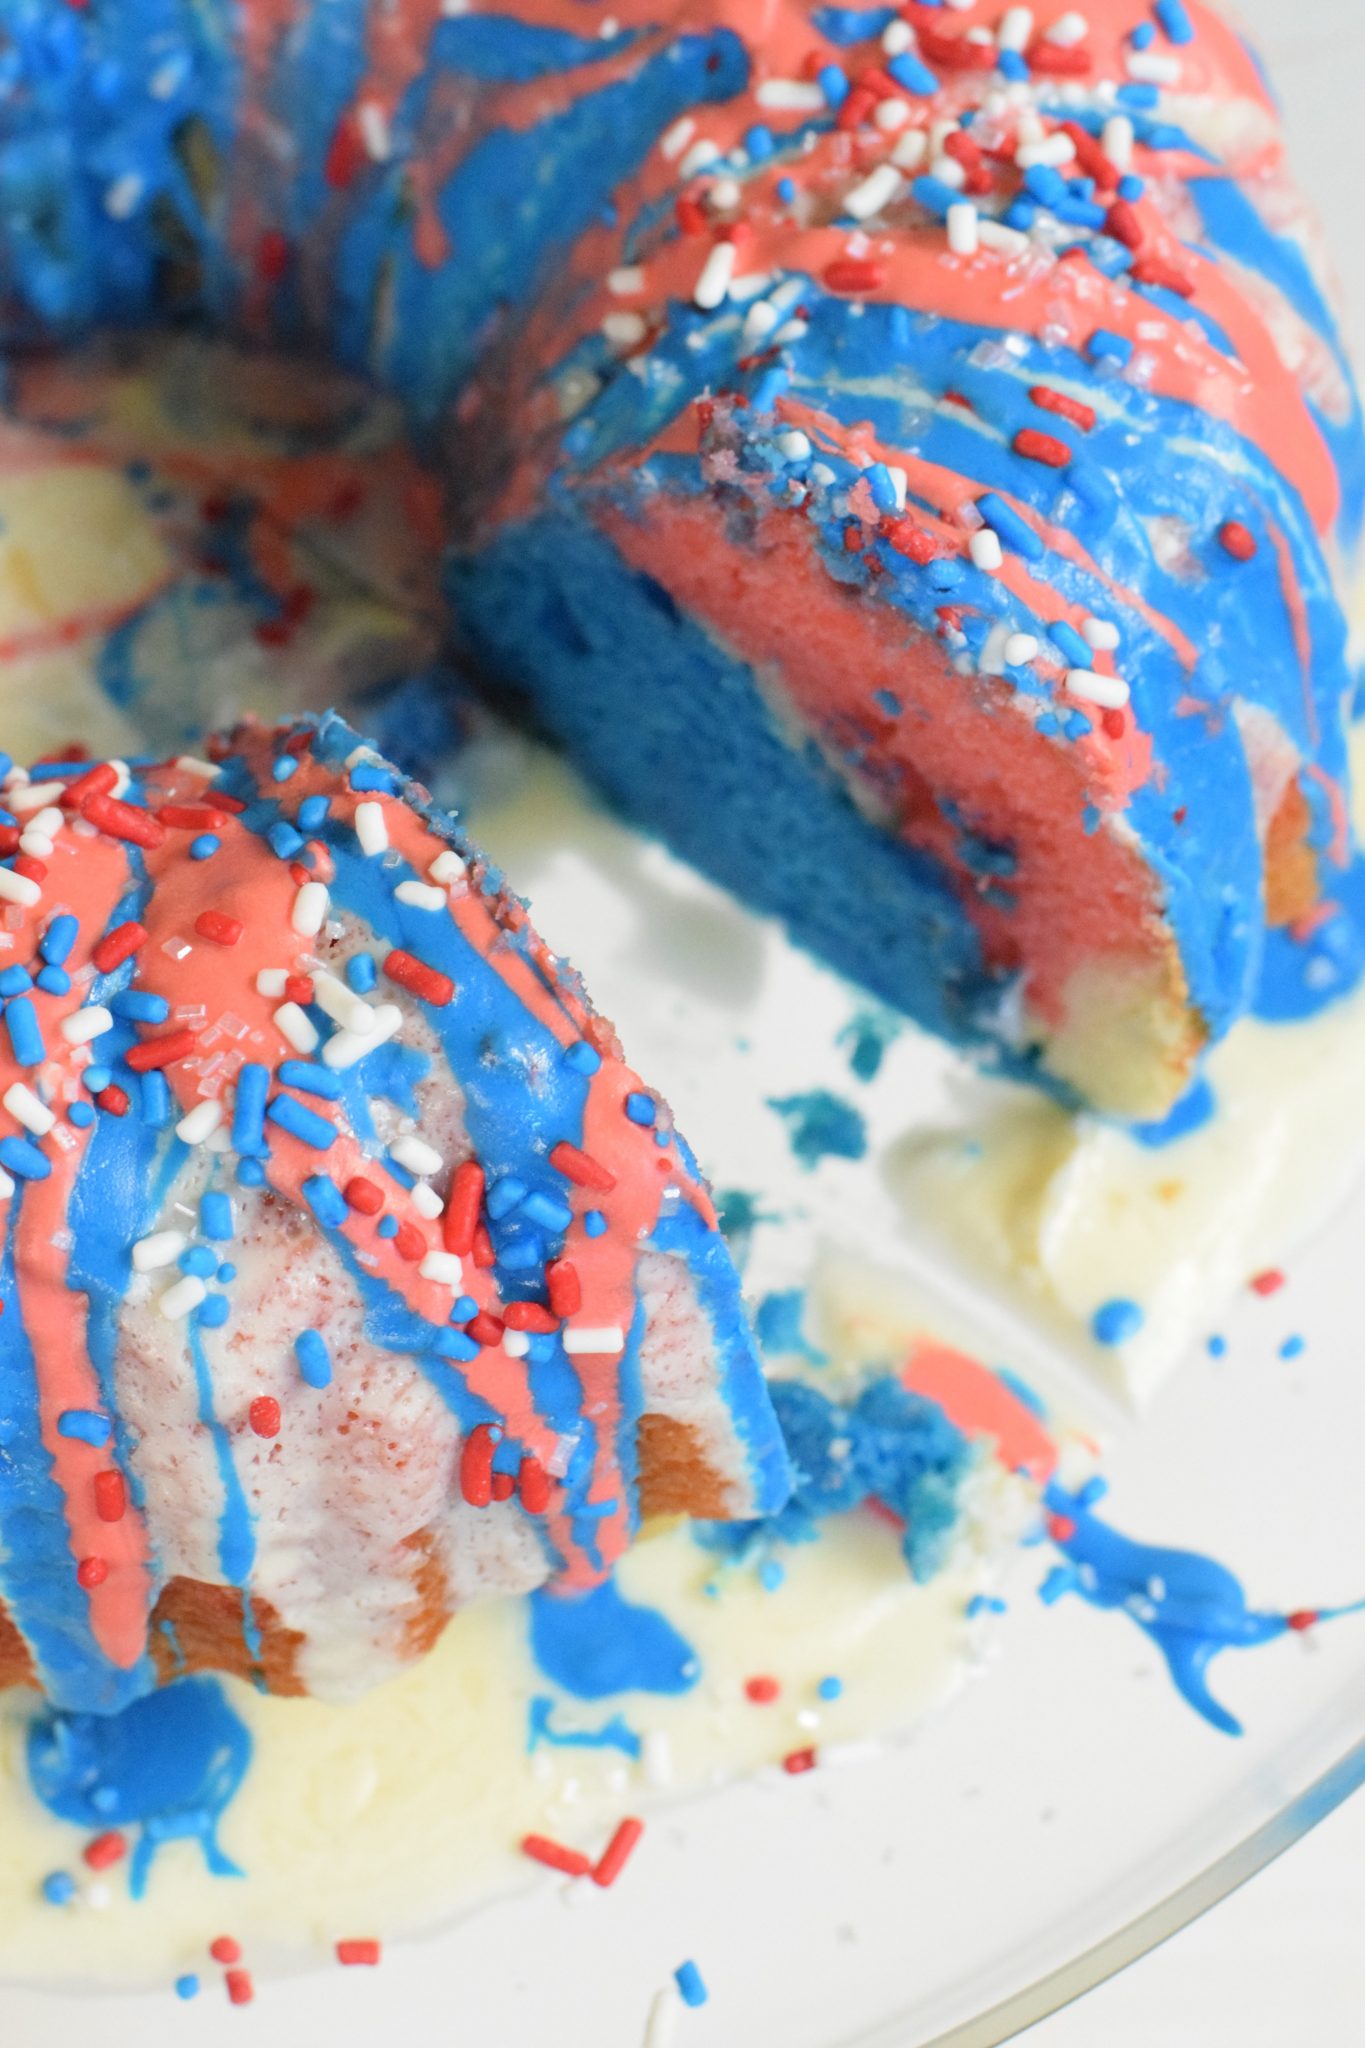
Happy (almost) Fourth of July, everyone! Can you believe it? This year is BLOWING by! In the spirit of the holiday, I wanted to share this fun cake I recreated after I saw the popular “Firecracker Cake” on Pinterest! We aren’t have a big 4th of July party, but if we were, I would totally be stocking up on all things red, white and blue at Wayfair for some patriotic entertaining! Instead, I whipped this up to celebrate a recent promotion for Dane! He loved it 🙂 What says congratulations more than a red, white and blue bundt cake? Nothing! This firecracker cake came together so quickly and if you’re in the market for a 4th of July recipe or patriotic party recipe — I’ve got what you need right here! So grab your food coloring, because it’s time to make this dairy free recipe come to life!

Dairy Free Red, White + Blue Patriotic Bundt Cake
My Red, White + Blue Patriotic Bundt Cake is gluten free, dairy free AND STILL DELICIOUS! But, I will tell you that it does get a bit messy, so if you’re averse to shaking things up in the kitchen, then this might not be the best recipe for you. If you aren’t afraid to roll up your sleeves, let’s get down to business! I promise, this cake is easy, tastes delicious and is so moist that we are still talking about it 3 days later. Plus – if I were a party guest, it would be super impressive to me 😉
You Will Need:
1 cup granulated sugar
3 eggs
8 tbsp. Smart Balance (the original is dairy free!)
1/2 cup coconut milk
2 tsp. vanilla
2 cups Cup4Cup (or other preferred gluten free flour mix)
red and blue food coloring gels
1. Preheat oven to 350 degrees.
2. Grease bundt pan liberally.
3. In a large bowl, mix together sugar, eggs, Smart Balance, coconut milk and vanilla.
4. Sift in flour until batter forms and mix well.

5. Divide batter into three bowls evenly – around 1 cup each.
6. Using a toothpick, put a tiny bit of red gel into bowl one and blue gel into bowl two. Leave the third bowl plain. **The gel goes a long way, so you only need a little bit!**
7. Now it’s time to layer the batter in the pan! You can do this a couple different ways. I poured each layer into the pan separately, but there’s no reason you couldn’t put the batter in one dollop at a time alternating colors. Just be careful not to mix the colors with a spoon – it will turn grey and you’ll lose the effect!
8. Bake in the preheated oven at 350 degrees for 35 minutes, or until a toothpick comes out clean.
9. Wait for it to cool COMPLETELY before attempting to pop it out of the bundt pan.

10. When it comes to decorating you have options! You can, quite literally go in any direction you want – piped icing, cut the cake and dip it into chocolate for easier serving, or my personal favorite – the crazy icing method.
11. I made a batch of this icing recipe, subbing in ghee and coconut milk. It was runnier than I anticipated (I think due to my substitutions), so the initial white layer to “cover” up the cake was more like a glaze. With the remaining icing, I divided it equally into two measuring cups, used a little bit of coloring gel and mixed well. Then, I drizzled it haphazardly over the top. I finished it off with sprinkles an my favorite glittery sugar crystals.

I put the cake in the refrigerator to harden up the icing a little bit and I think, had I been serving it at a party, I would have done a better job of making sure it didn’t look so sloppy, but Dane said that he appreciated all the effort and the extra icing made it look more fun.

I know it seems like there are a lot of steps in this recipe, but start to finish it only took me a few hours, including the time it took for the cake to cool. Probably less than an hour of actual prep time!
One thing to note if you make this exact recipe on your own is that it’s incredibly moist, so the cooling time between oven and icing is CRUCIAL. That considered, Dane said it was one of the best cakes he has had in a long time! #winnerwinner
Happy Fourth of July, everyone! Did you love this recipe? Be sure to pin it for later below!
 Croissant French Toast Bake With Cream Cheese Filling
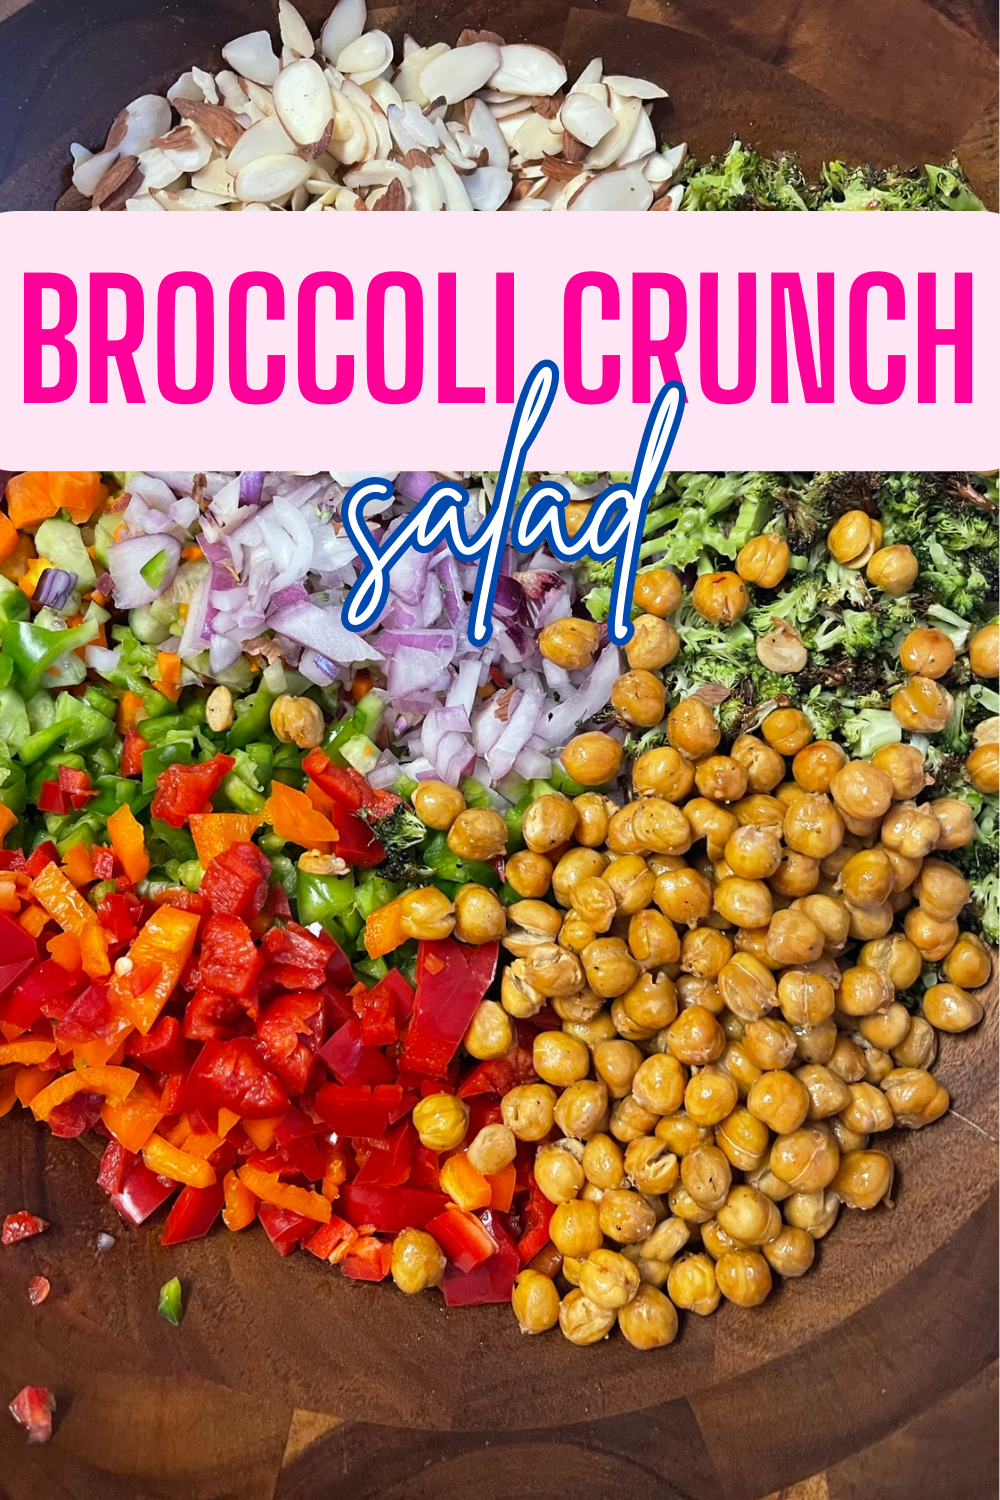
 Broccoli Crunch Salad
 Skinny Mojito