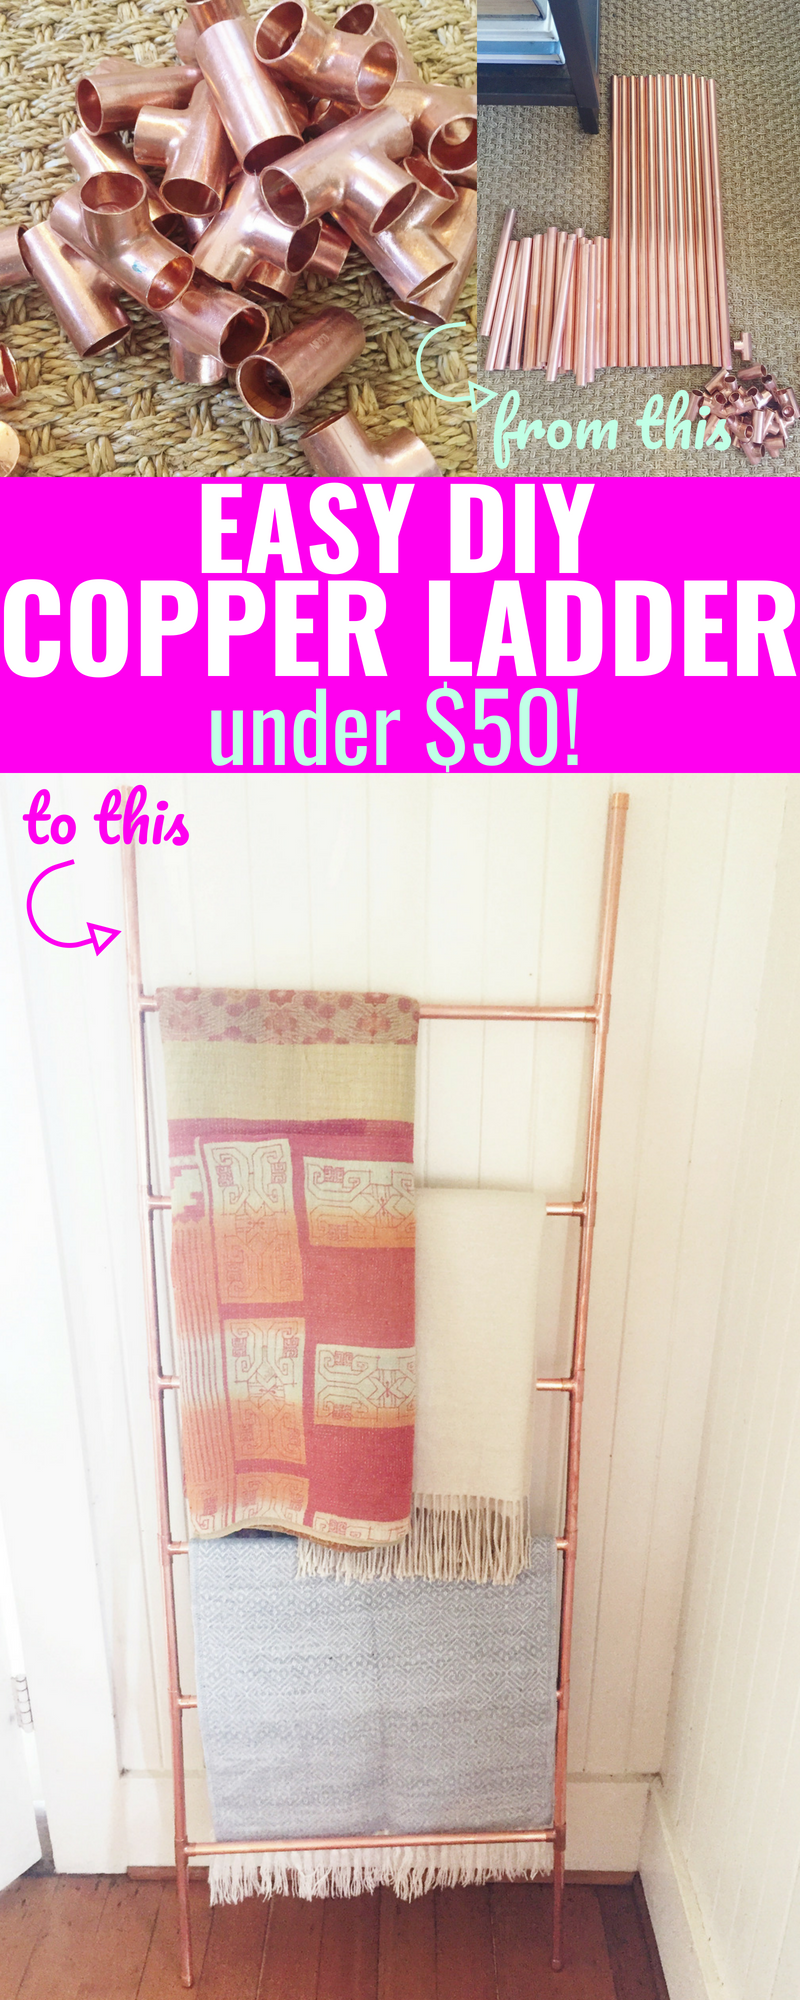
Is anyone jumping on the copper craze like I am ? Confession time: Ever since I purchased this beautiful side table from Target for $8, I’ve been on the hunt for more copper accent pieces for our home. I know what you’re thinking – $8?! Why didn’t you buy more?! The world may never know. I kick myself daily for not stocking up. Anyhow, I wanted at least one more copper piece to tie together our living room. Isn’t she cute? She needed a copper accent piece friend, right?

Dane mentioned that he saw a cool tutorial for a DIY Copper Blanket Ladder on Instagram and that we should make one for the living room. He was SO right – it’s just the flair I wanted! The issue I kept running into was finding the copper piping – it’s harder than you might think! Thankfully, I wound up finding the necessary pipe ladder pieces and this DIY came to life pretty quickly after that. This display ladder gets so many compliments and I hope you enjoy making it, too! Now, let’s dive into this DIY Copper Ladder Under $50 tutorial…

DIY Copper Ladder Under $50

I nosed around the internet and found this great tutorial from A Beautiful Mess that I used as an outline. I didn’t follow it exactly for a few reasons:
1. They use 3/4″ copper piping and I used 1/2″. This was a money saving mechanism. Our Home Depot definitely carries 3/4″ copper piping, but it’s more than double the 1/2″. Visually, it wasn’t a big enough difference for the splurge (at least for me).
2. Their tutorial works with pre-cut copper. Our store didn’t offer that so I had to find a way to make it work from 10 foot copper tubes. I invested in a pipe cutter and cut all the materials myself.
It’s also important to note that it’s very likely your pipes will come with red writing on them. Trust me when I say you’ll want to clean your pipes PRIOR to assembling your ladder. The guy at Home Depot recommended nail polish remover, which definitely works, but it requires a lot of polish remover, as well as a ton of scrubbing/power. As my friend and I were literally breaking a sweat scrubbing, she came up with the idea to try the cleaner she uses to scrub her copper pots. It worked SO MUCH BETTER. I imagine Bar Keeper’s Friend would do the trick, too!
For this project, you will need:
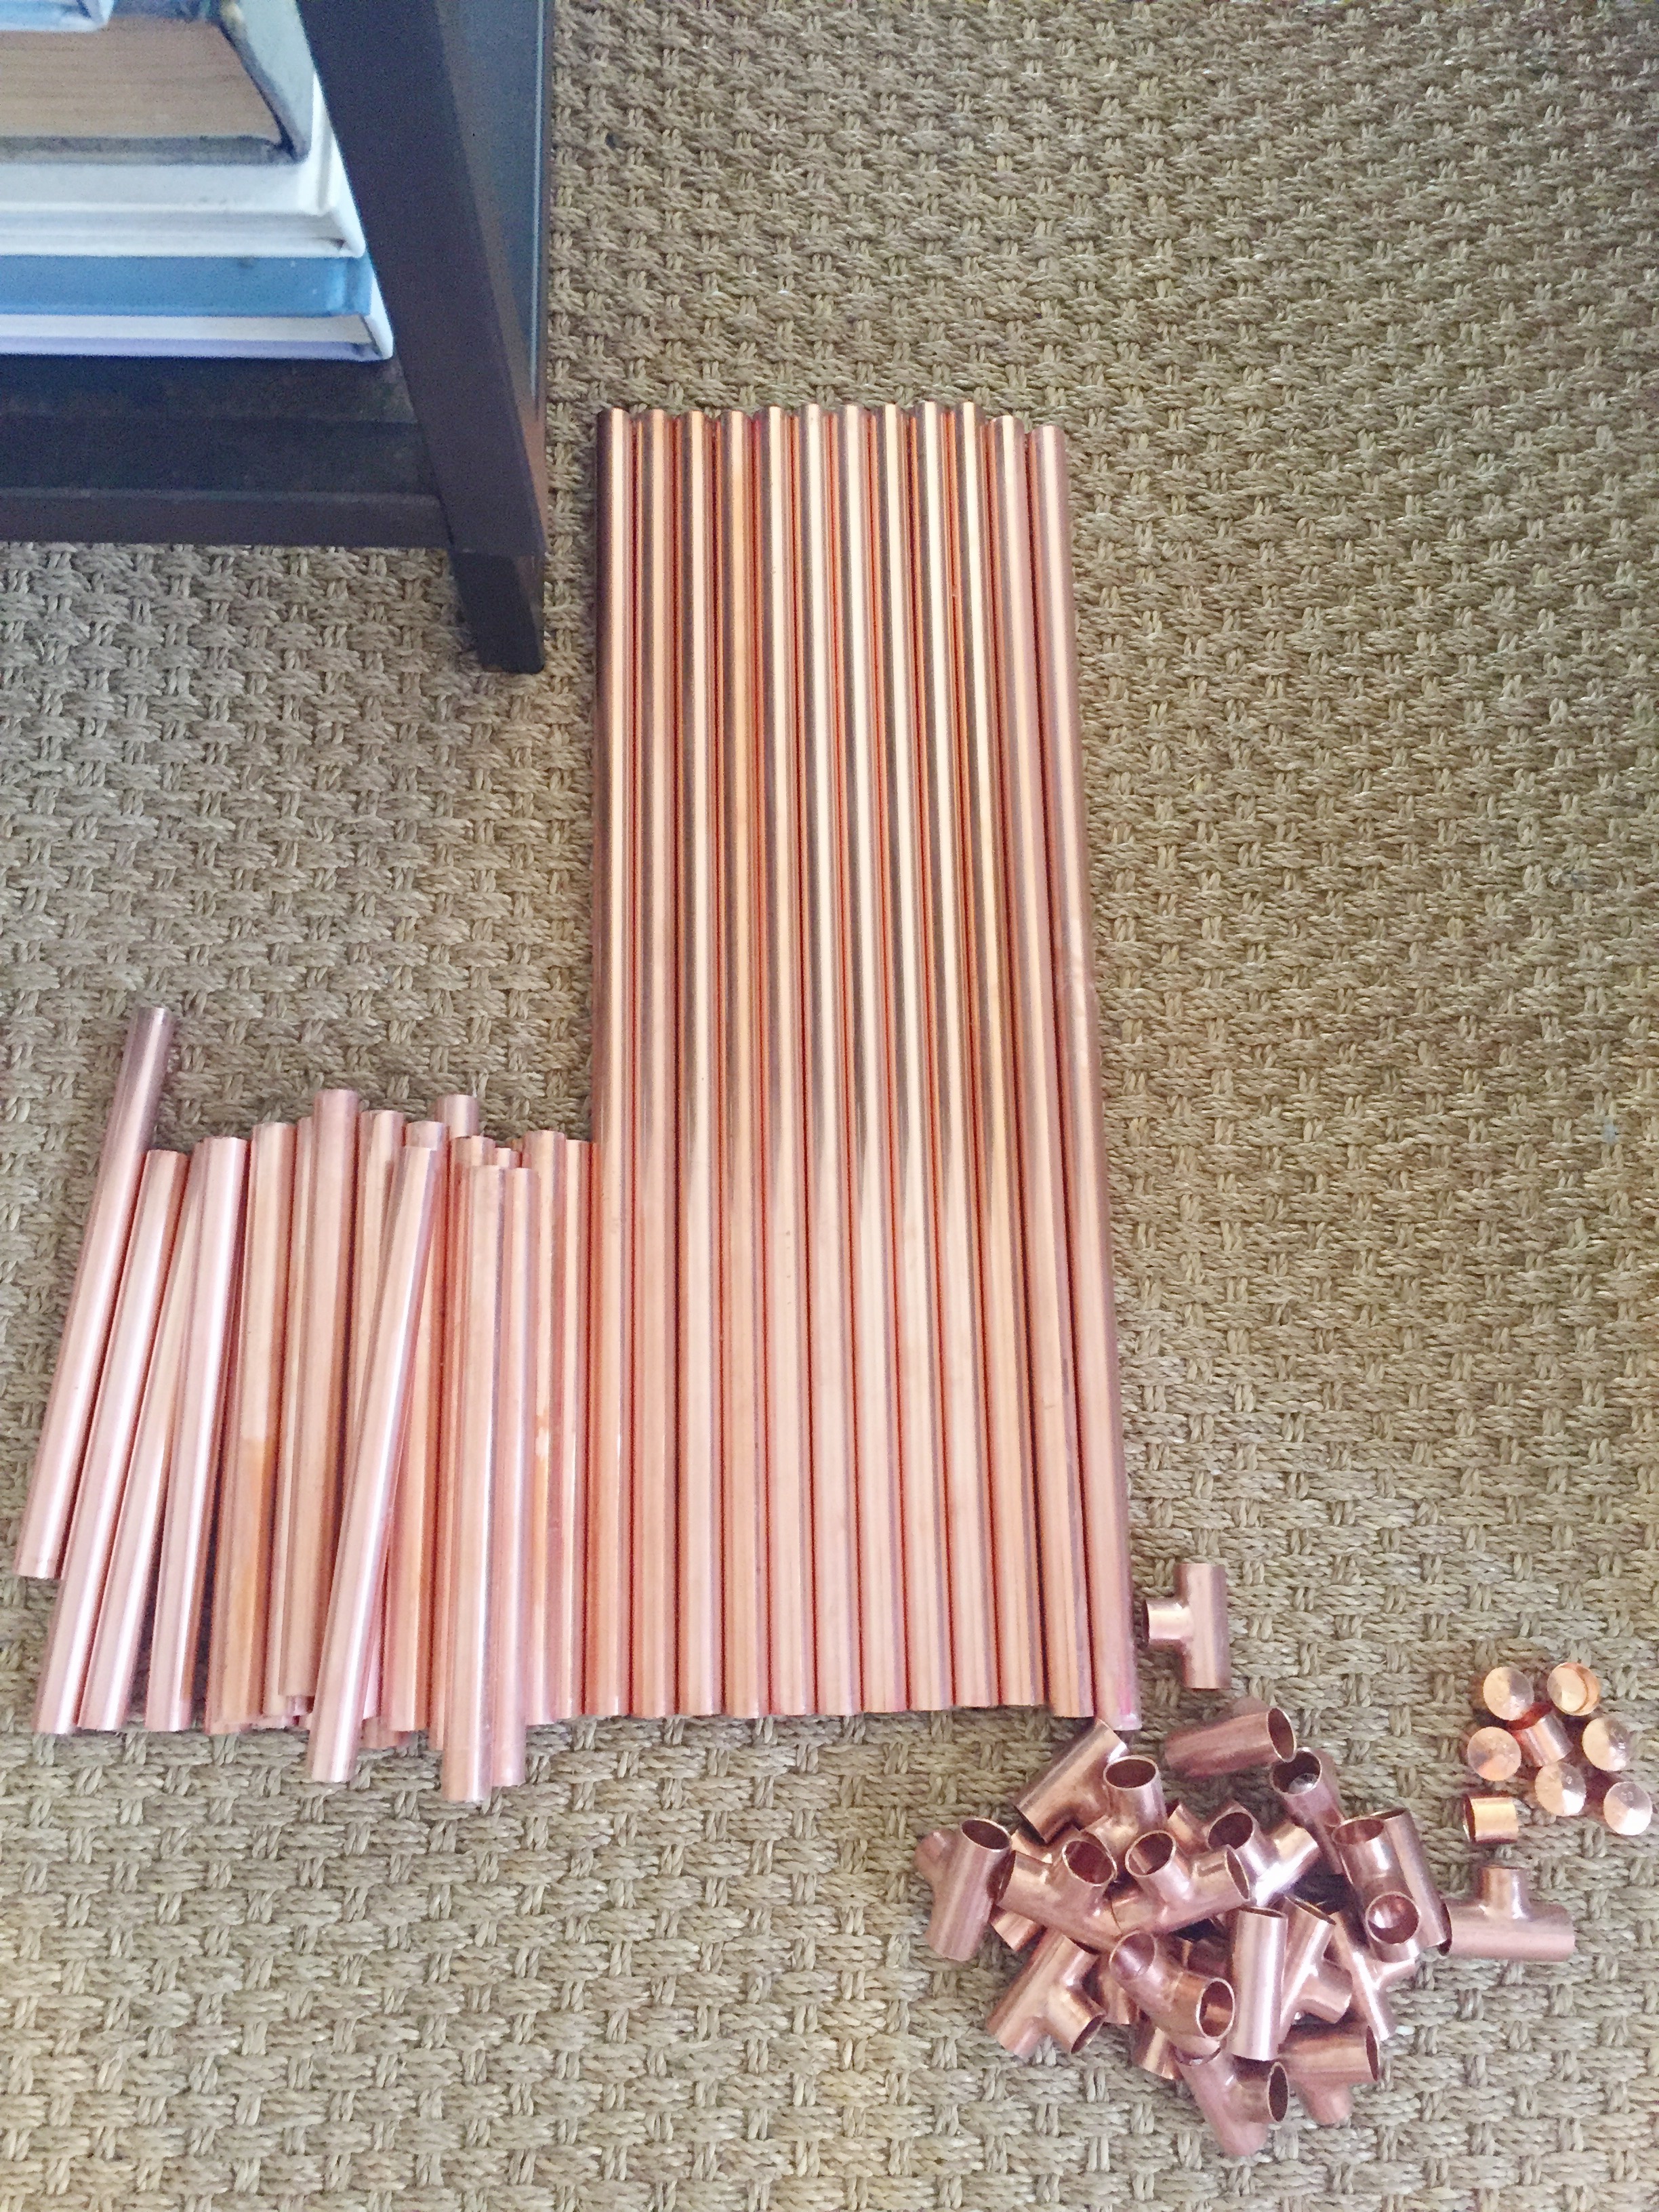
2, 10-foot 1/2″ copper pipes ($15/each) – $30
12, 1/2″ copper pressure tees ($1.36/each) – $16.32
4, 1/2″ copper tube caps ($0.76/each) – $3.04
GRAND TOTAL: $49.36
The very first thing you’ll want to do is grab a bottle of champagne, some croissants and a good friend. Have champs, will craft, am I right?

When you’re all set, start out by cutting the 10-foot copper pipes.

You Will Need:
6 – 20″ pieces of copper piping (these will be the rungs)
14 – 8″ pieces of copper piping (these will be the outside of the ladder)

Once you have all of your pipes cut, start cleaning them off! This takes a little bit and some elbow grease, but it is much easier to clean before you begin assembling.

Once all the pipes are clean, attach your pressure tees to your 20″ pieces – one on each side. Then, fit the 8″ pieces into the pressure tees until your ladder comes together. You’ll notice that some of the tees/pipes are a little bit loose. I didn’t like that, so I initially used super glue, but quickly realized I would need something more and affixed each joint with Gorilla Glue.

Finish the project by putting the caps on the four exposed pipe corners and TA DA!

A couple things:
We live in Hawaii where the air is naturally salty and damp, so I know that I’ll probably be cleaning this ladder weekly. Two days in and I can already see it getting a bit spotty. I would not recommend it for an area of your home like a bathroom, laundry room or any another room that is prone to water. That said, I also wouldn’t recommend it as a clothes drying rack or towel rack.
I didn’t include the cost of the cleaner or pipe cutter into this project as those are both things I’ll be using in the future.
Feel free to affix the pipe caps with Gorilla Glue as well – use your judgement 🙂
Have you ever tried a copper DIY? If you try this tutorial, be sure to tag me (@ByKaitHanson) on Instagram and Twitter!

 How To Style A Sequin Skirt
 My Honest Review Of Mosquito Deleto
 How To Make A Rental House Feel Like Home