If you have been around awhile, you know that I like to create my fair share of collages for different types of posts. I also like the look of layering images and having some of them overlap. It’s difficult to do this when the background color of an image isn’t transparent. Today I’m going to share how to make the background of a photo transparent on Mac computers. For some, you may have been using this photography design hack for years, for others, it might be a new technique you integrate into your graphics. Either way, I’m breaking it down for you today for transparent backgrounds in photos!

How To Make The Background Of A Photo Transparent On Mac
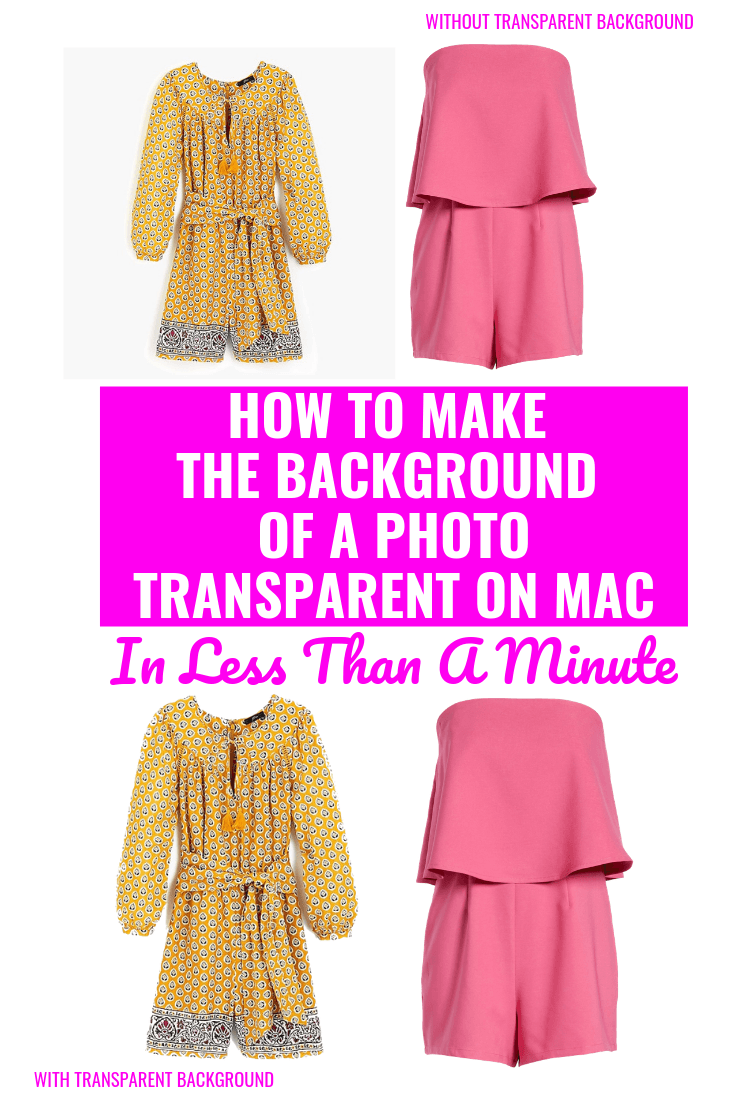
Let’s start with the basics – why do you want a transparent background in photos? For me, I like to create collages. When the photo has a background color, it sticks out. Here’s an example:

Do you see the outline of the background on the yellow romper in the first photo? It distracts from the overall look of the collage, so that is what you want to get rid of.
How To Make The Background Of A Photo Transparent On Mac
The first step is opening the photo you want to edit in Preview. Usually Preview is the default app, so by double clicking on the image, it should automatically pop up in Preview.

Next, you will click the button on the far right side that looks like a Caboodle. That’s your toolbox. Click it! A whole toolbar will appear and it should look like the below photo.

Next, you will click the tool that looks like a magic wand. This is the enhancement tool.

From here, you will take your cursor and dragging it slightly toward the center of the page until the white space until it turns pink. As soon it turns pink, release your cursor. Your image should have moving dots all around it like this:

Hit the delete key on your keyboard and your new image should look like this:

Make sure to save your new image with the transparent background and you’re all set!
Giving photos a transparent background is great for creating photo collages, making homemade paper dolls, crafts and so much more. I hope this photo tutorial was helpful for you.
If you enjoyed this post, you might also like How To Turn A Cloudy Sky Blue or 3 Easy Hacks For Lightroom Beginners!
 A Beginner’s Guide To Night Sky Photography
 My Photography Gear
 What You Need To Know About Drones + Drone Photography