When we went to Utah, I knew I wanted to try my hand at Milky Way photography and night sky photography since there would be very little ambient light out in Moab. I turned to my trusted friend Anthony Quintano, a professional photographer, for night sky photography tips.
He gave me a crash course in night sky photography, equipped me with a few trouble shooting pointers and encouraged me to just get out there and do it. His tips and encouragement led me to some of the coolest photographs I’ve ever taken. What’s better? He explained it all to me in terms I could easily understand!
Today, Anthony agreed to share his tips and tricks for night sky and Milky Way photography. Whether you are a seasoned pro or just looking to learn more about photography, today I’m sharing a beginner’s guide to night sky photography.
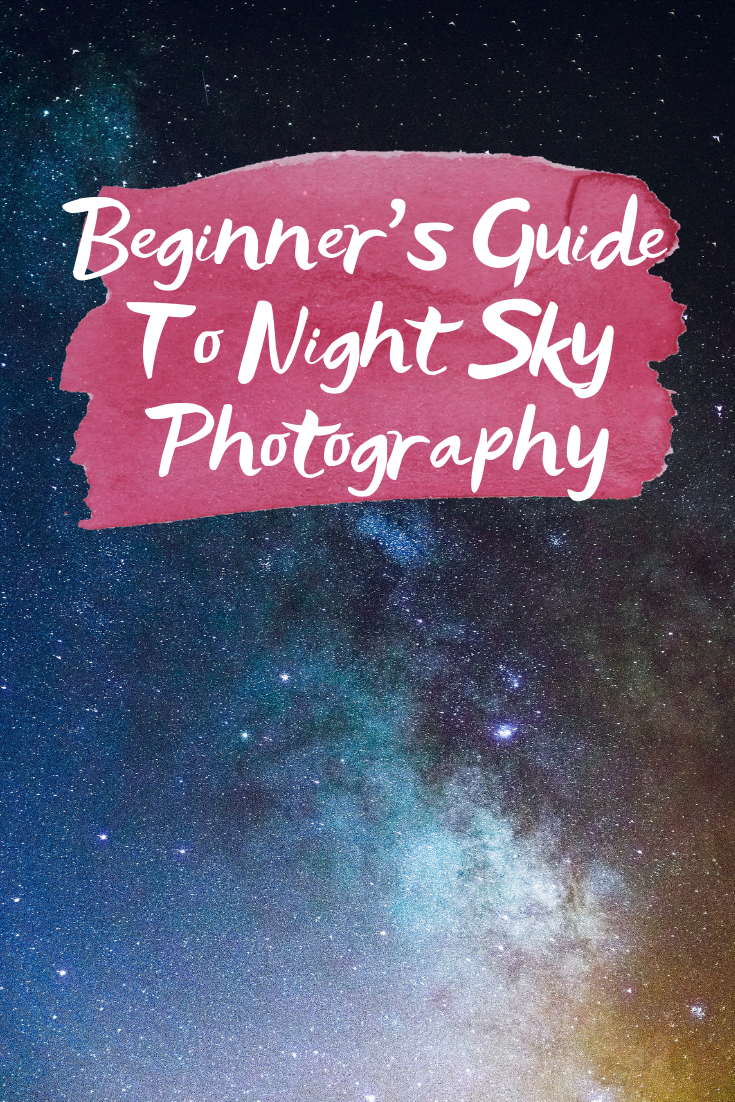
A Beginner’s Guide To Night Sky Photography
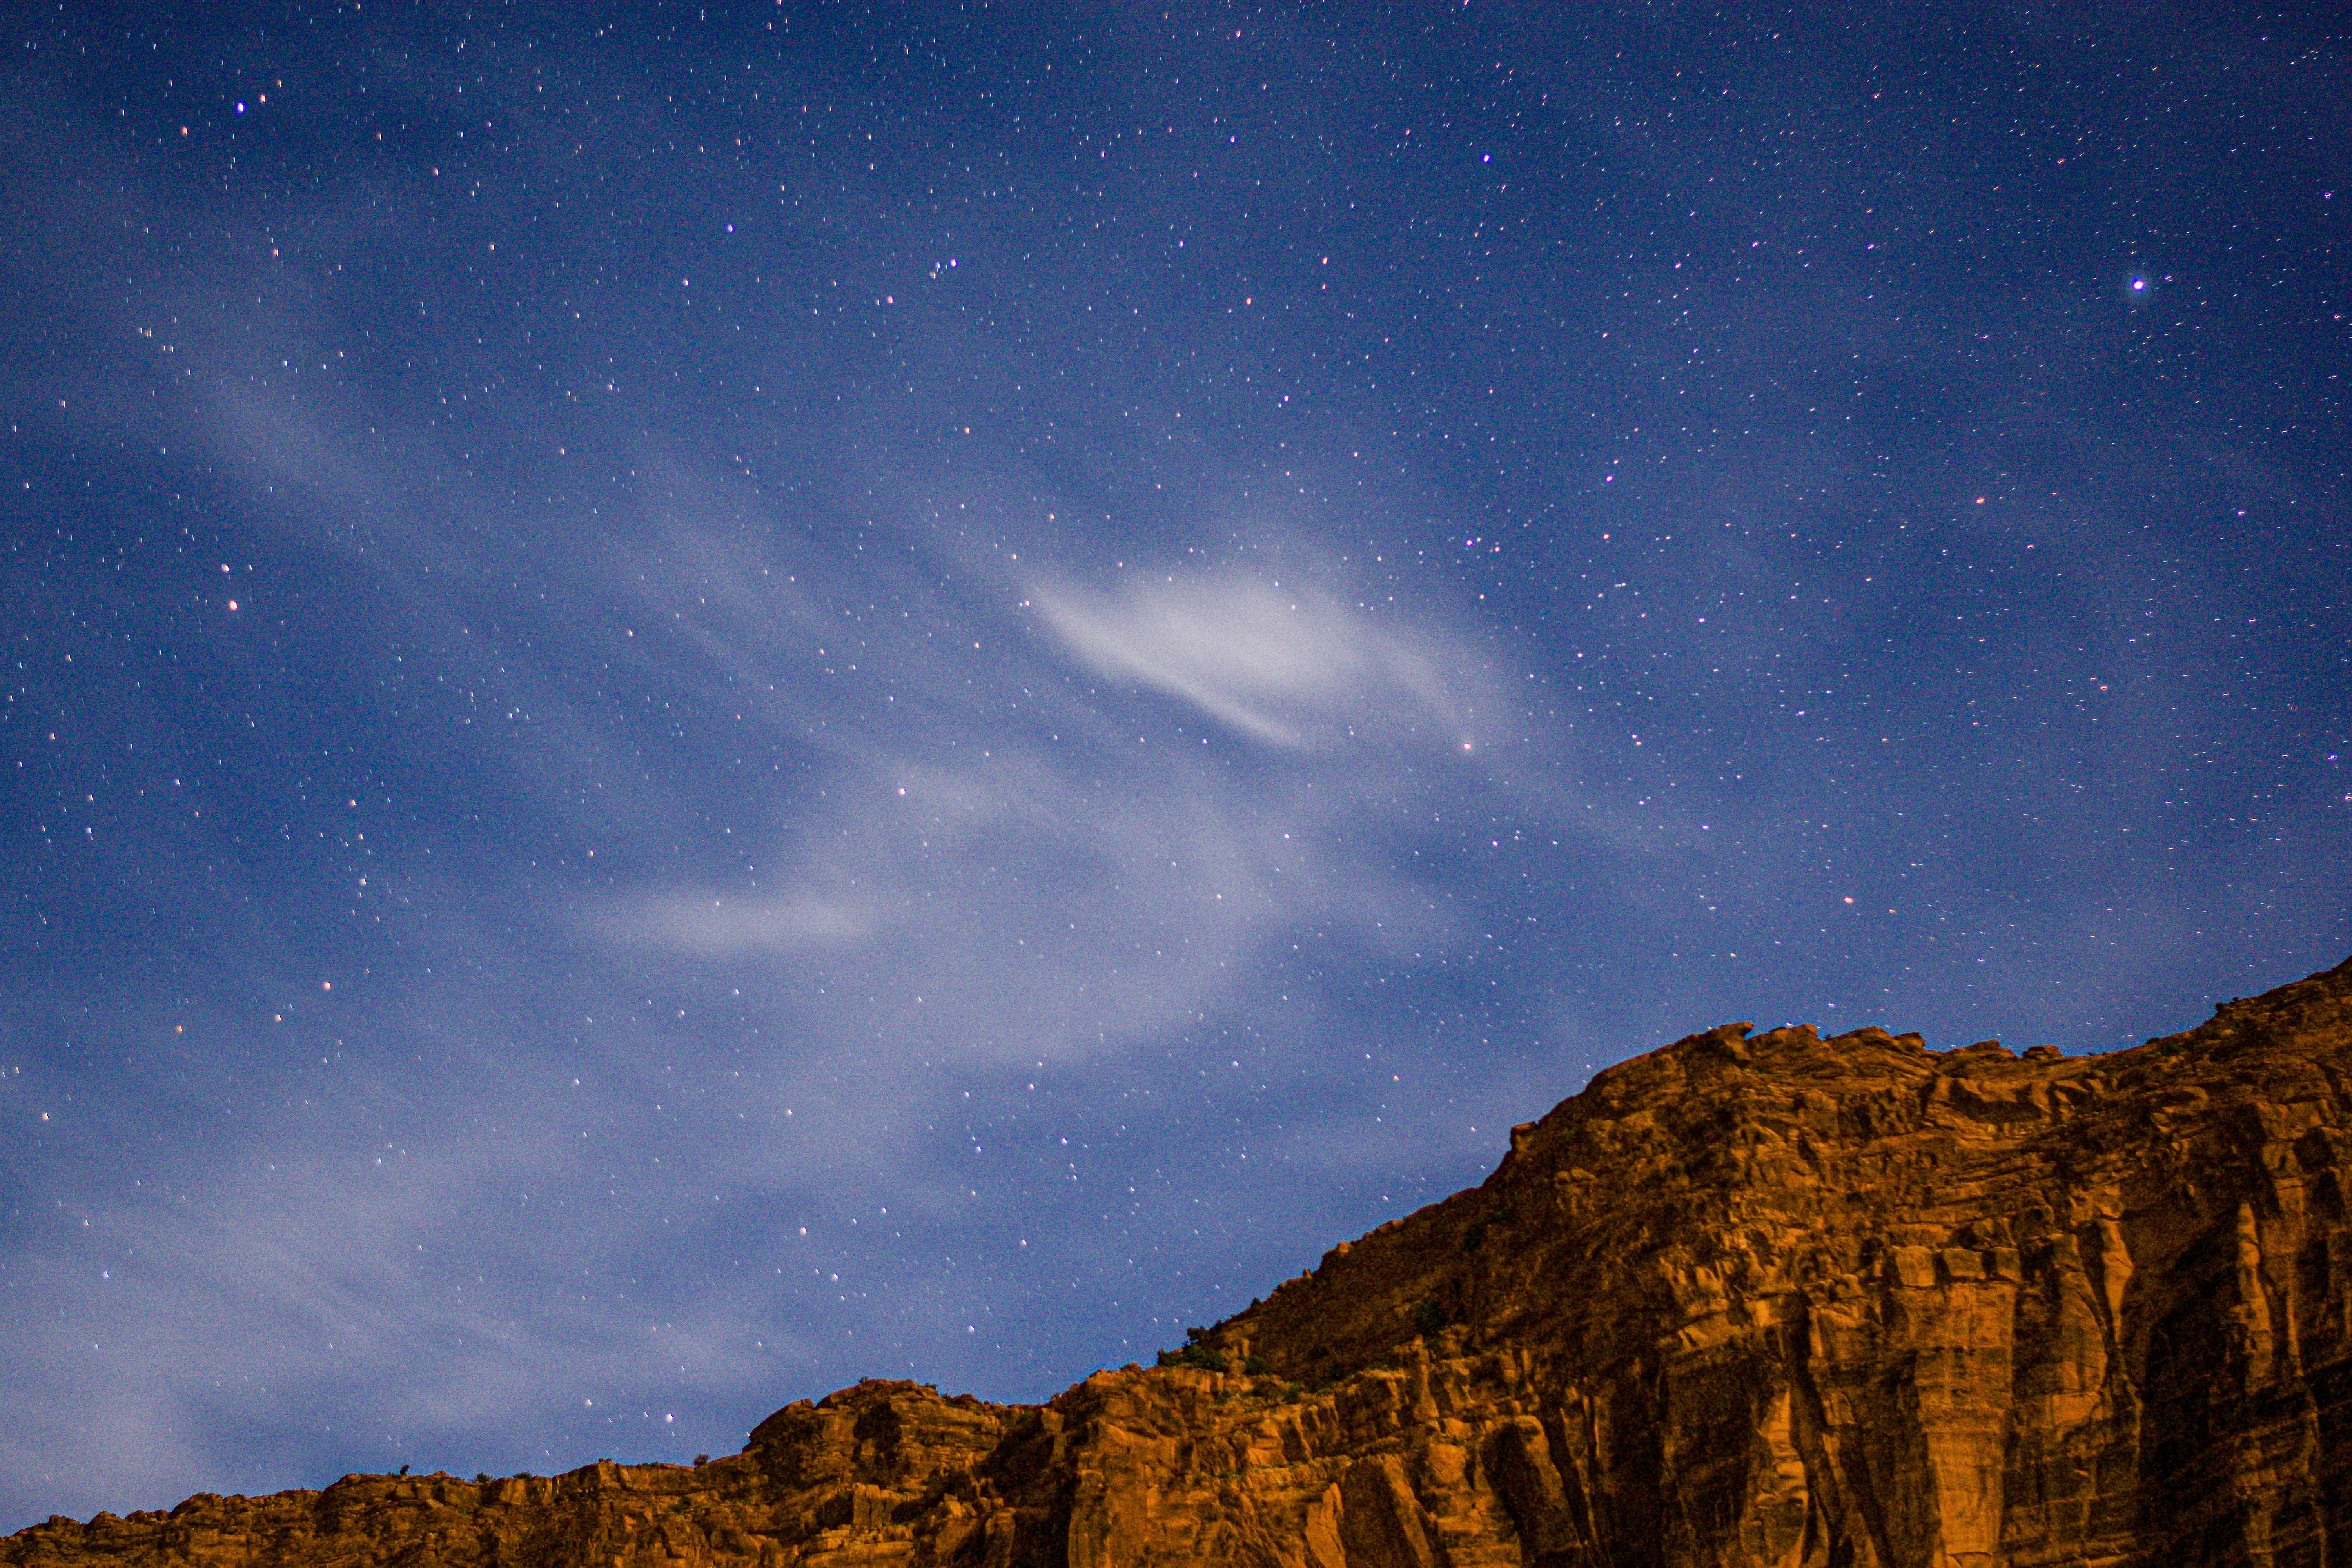
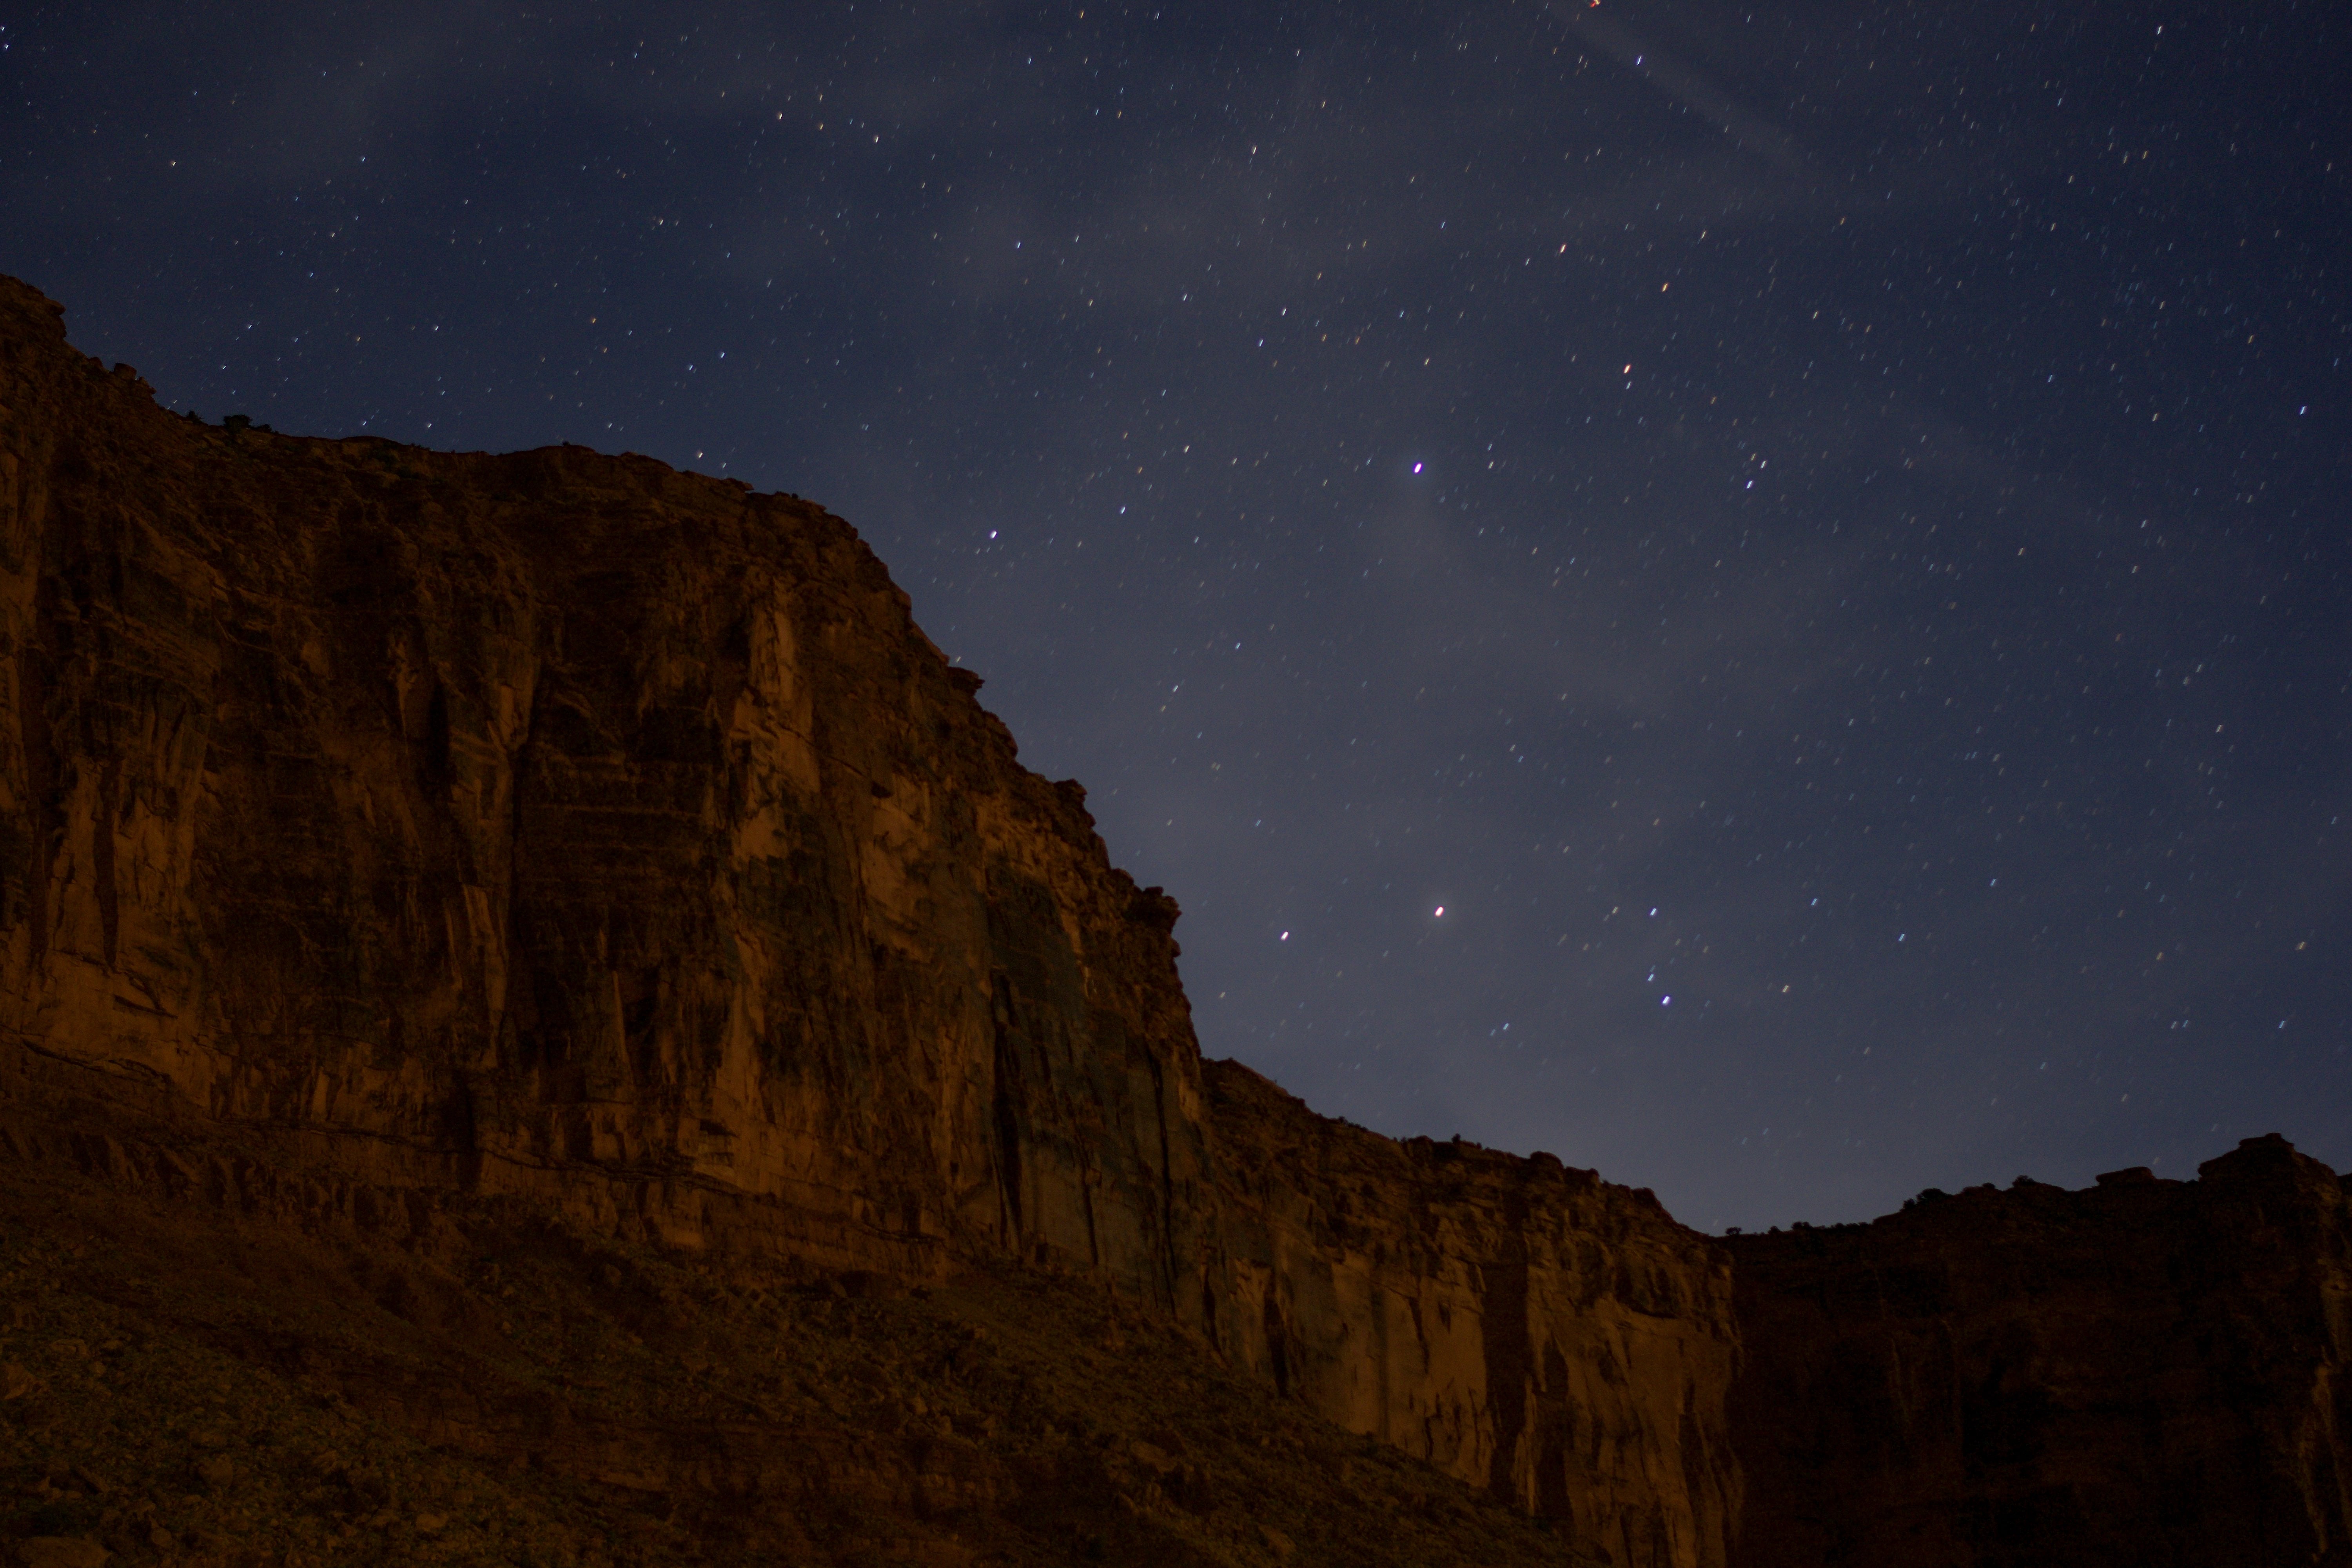
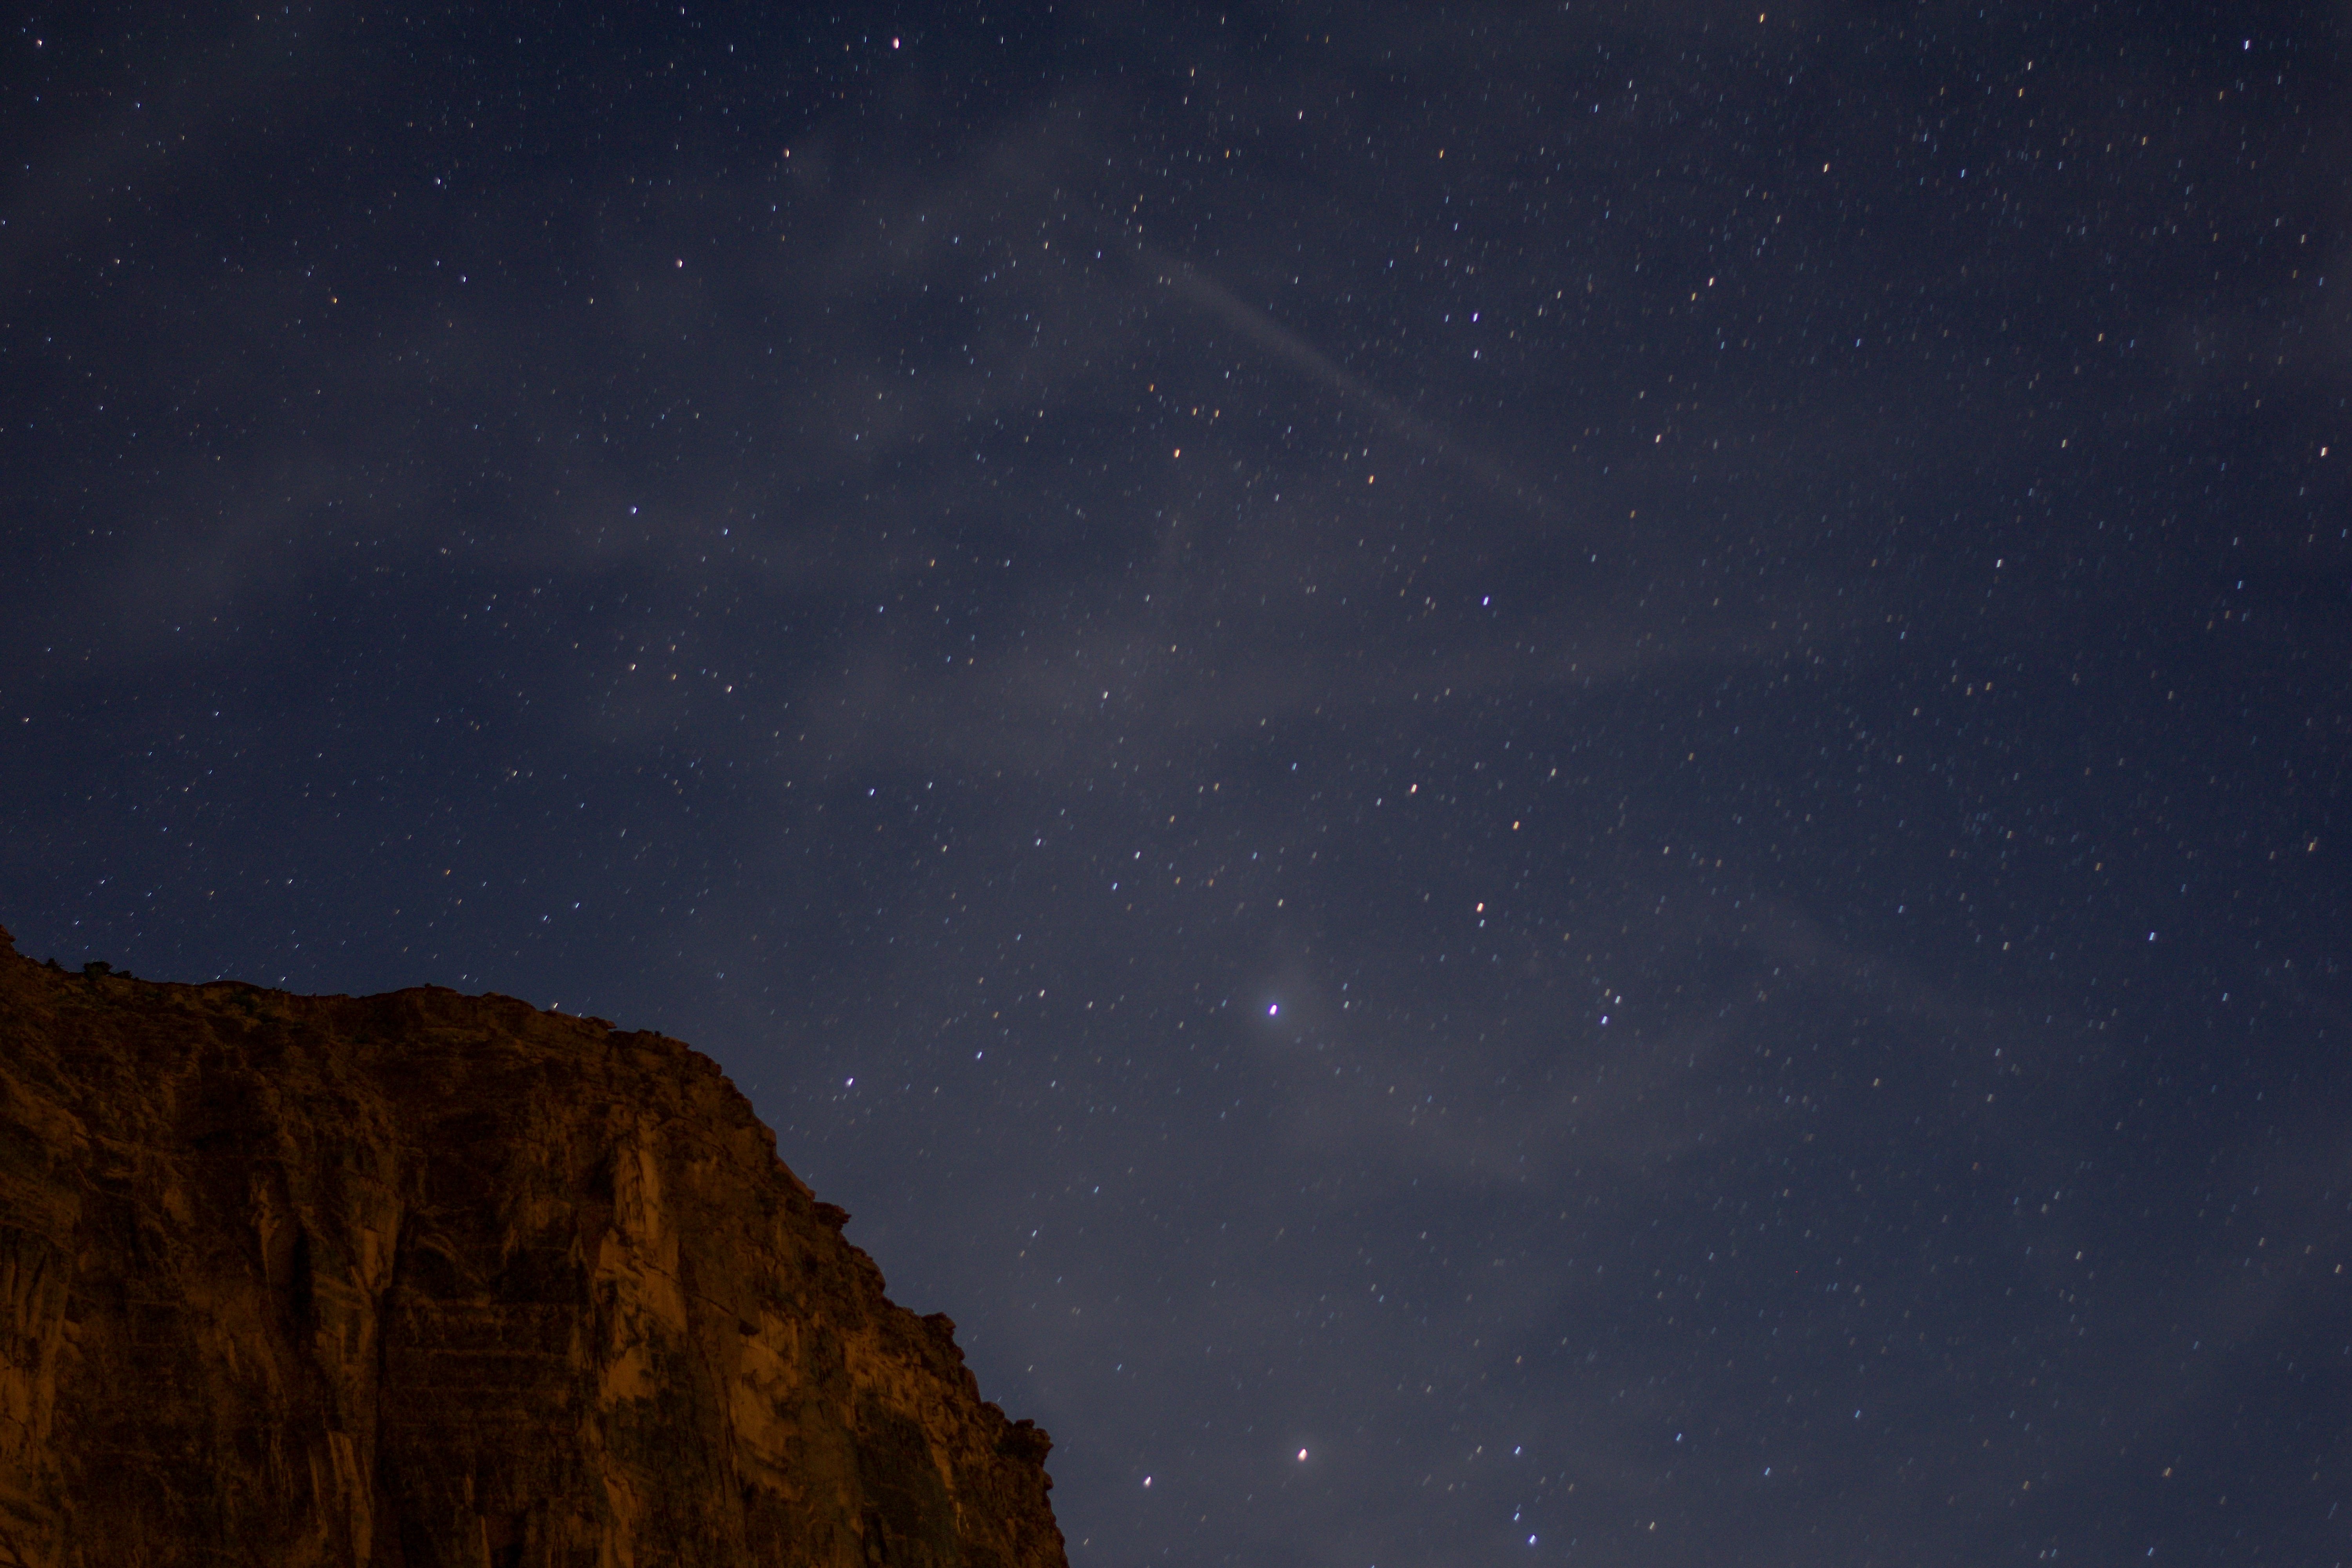
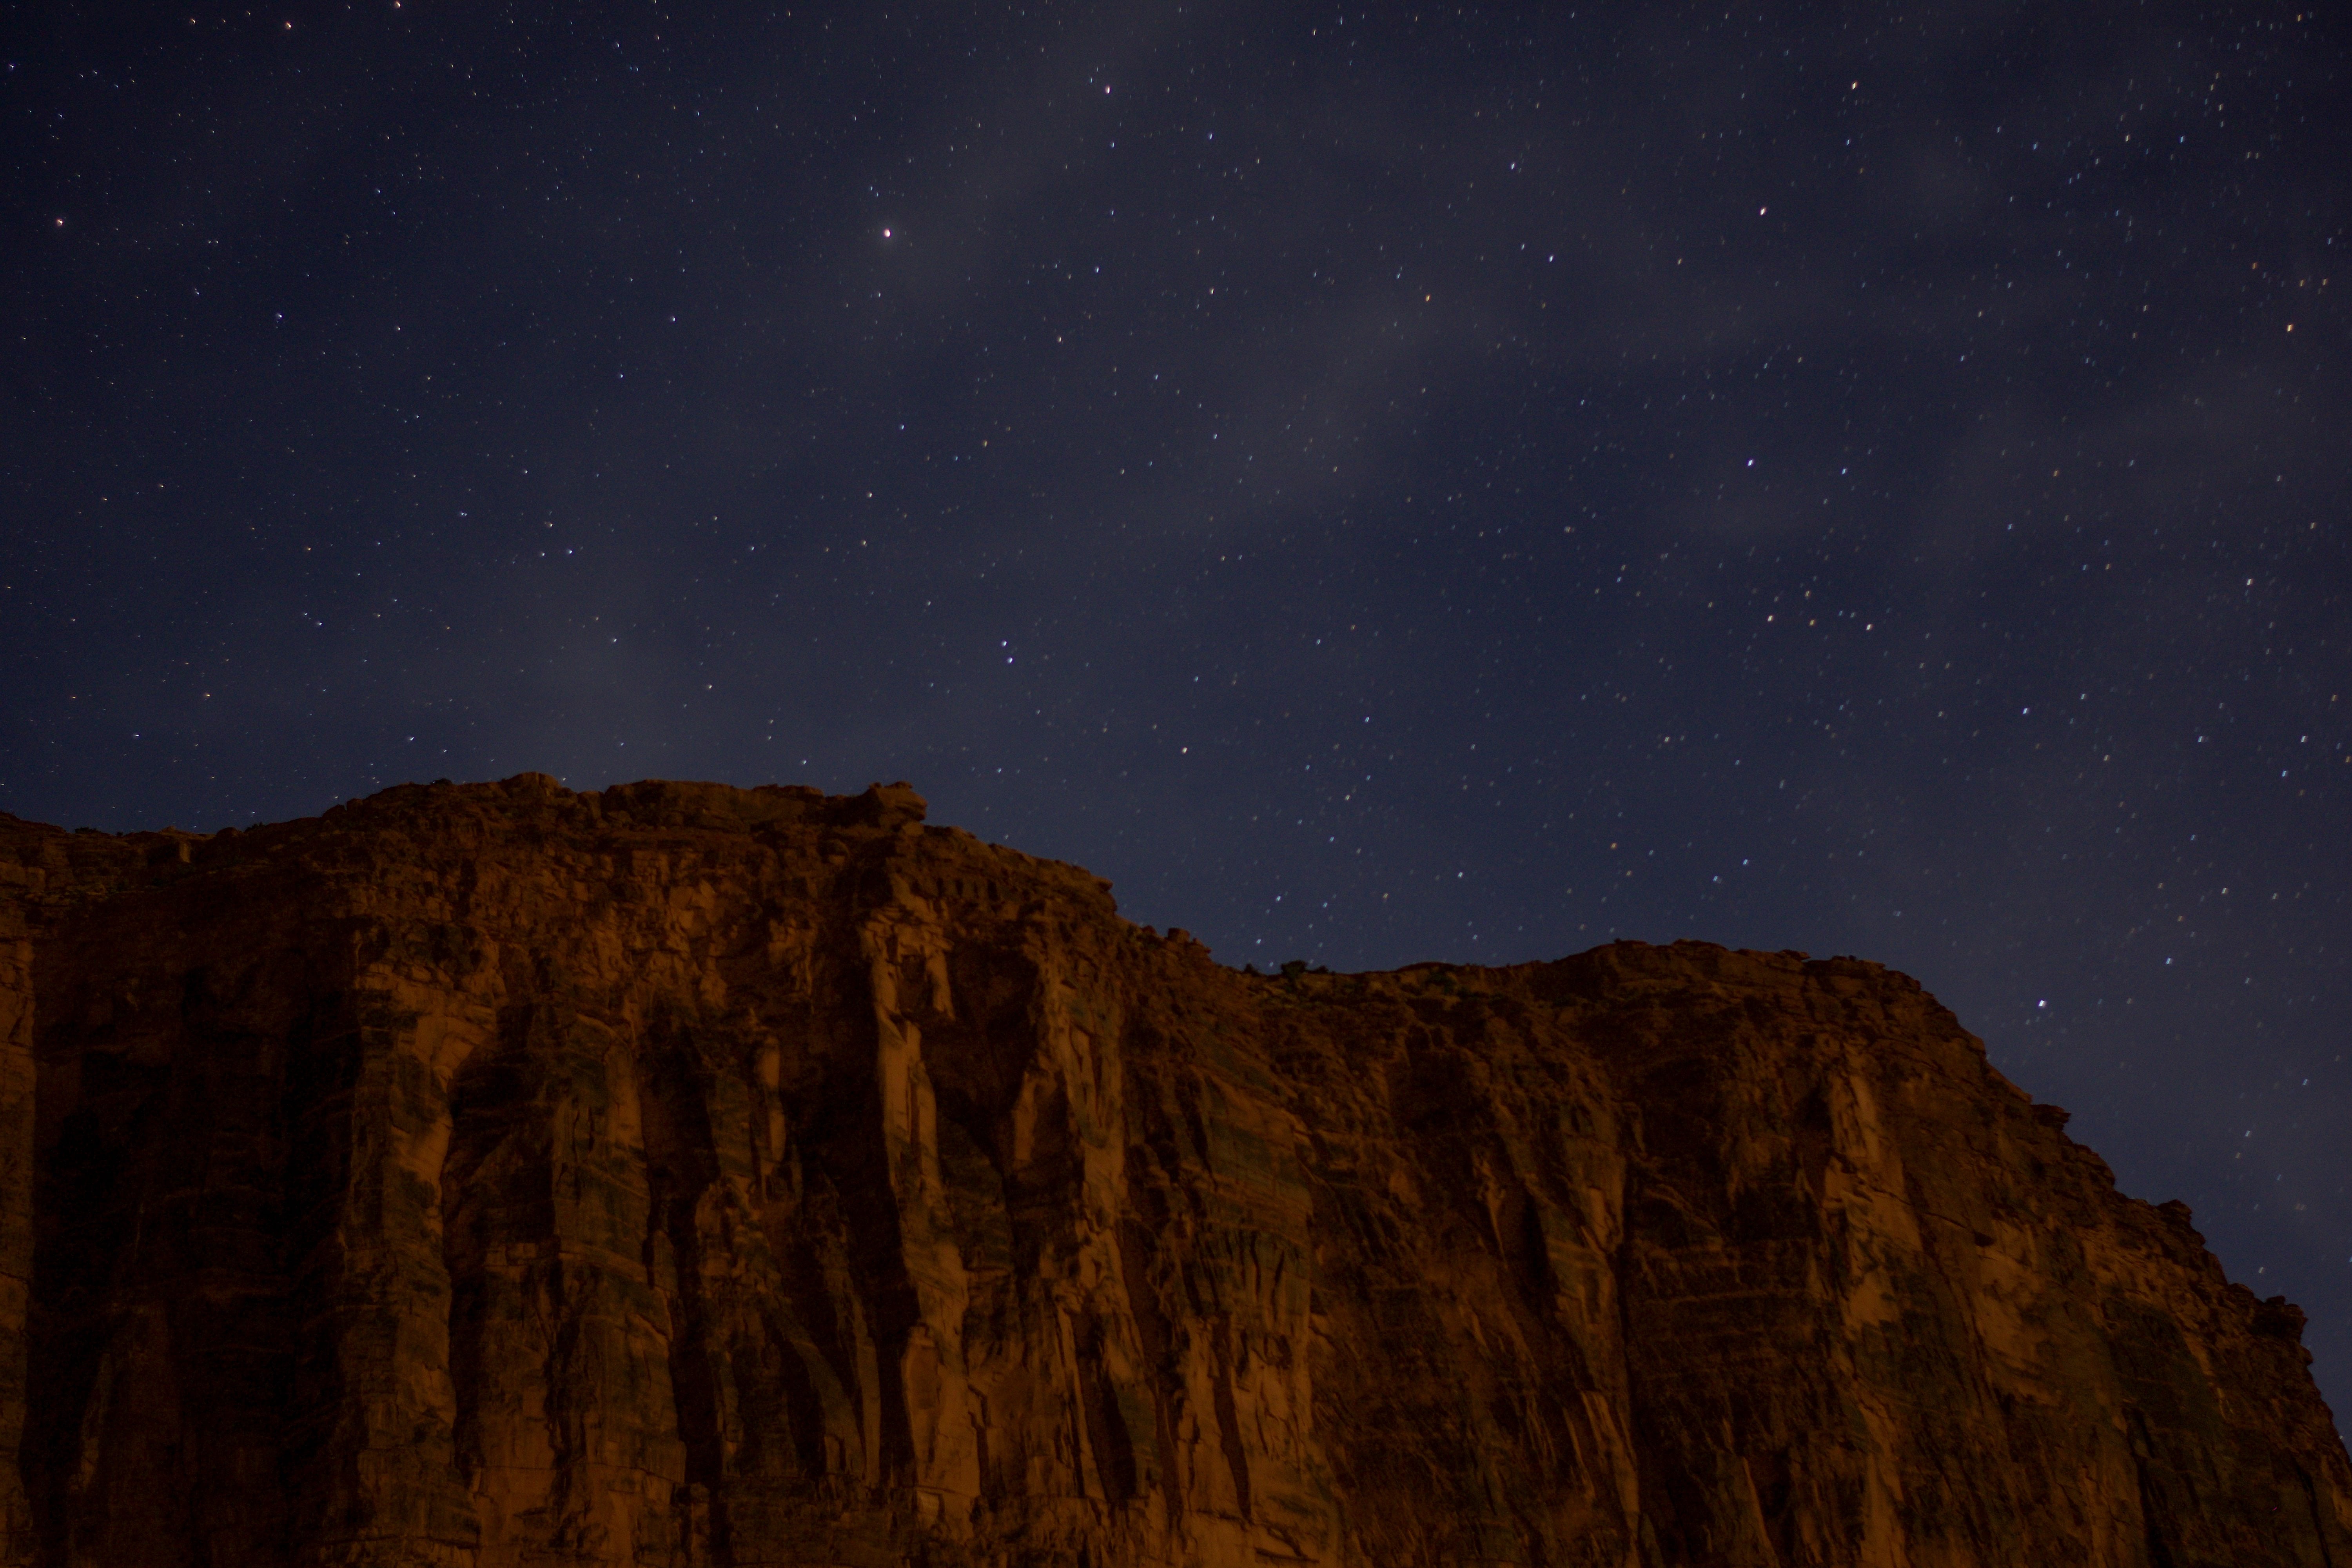
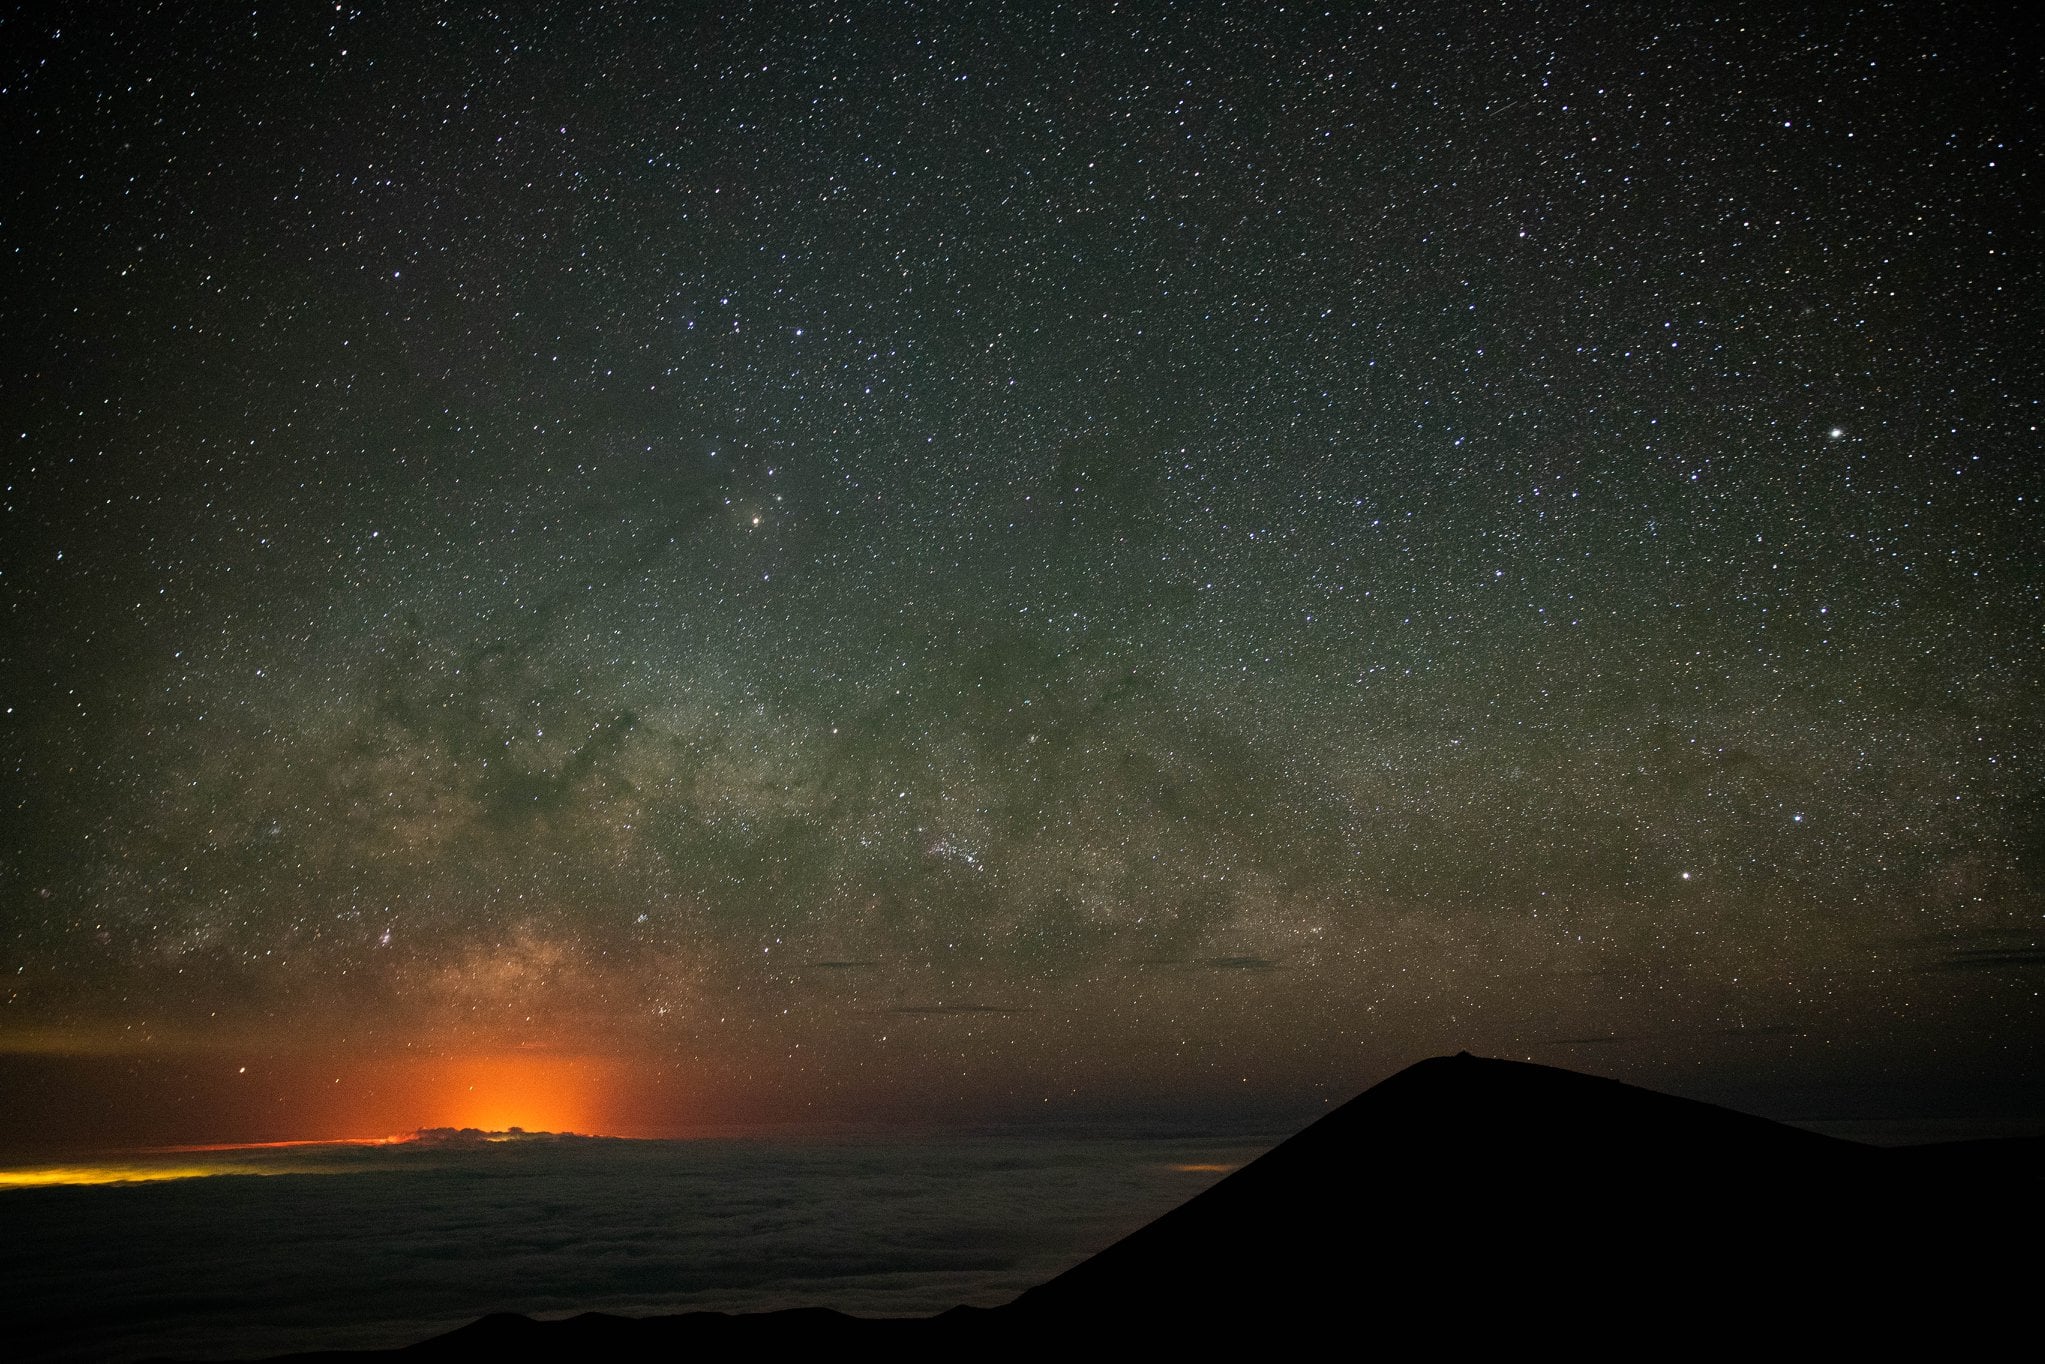
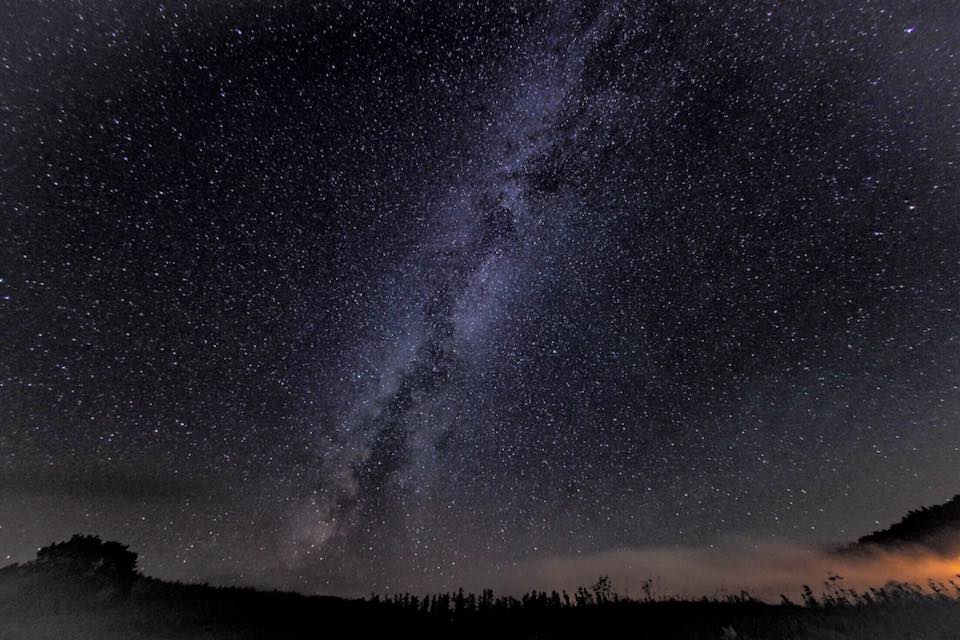
With Anthony’s help, I was able to capture the below photos during our trip to Utah with limited to no previous knowledge of night sky photography. To say I was proud of myself would be an understatement, but I owe all credit to him! To take these photos, I used all the photography gear I already owned and the pointers he lays out in the Q+A below!
What type of gear do you recommend for photographing the night sky/Milky Way?
What camera settings should one be shooting for when photographing the Milky Way?
What tips would you give someone wanting to photograph the night sky for the first time?
The ONLY way to learn photography is to go out and shoot all the time. Redundancy will help you learn over time. Meetups are also great! See if there is a local photography meet-up near you. Making new friends with photographers and asking advice is always a great help. YouTube is a great tool for learning photography and even specific functions of your model camera. Don’t hesitate to comment or ask photographers questions on their Instagram or YouTube video tutorial.
You are awesome! Where can my readers find more about you or connect on social?
I’ve been a photographer for 15 years. Many of those years I didn’t consider myself a photographer since I was still learning so much. I always look back at my work and see how terrible my work was when I started and how much I’ve progressed overtime. I have worked professionally as a photojournalist for NBC News, Recode and Honolulu Civil Beat under the job title as social media manager. Everyone I’ve worked for has taken advantage of my visual content skills. Now I’m working for myself with the support of my community on Patreon. You can see my work on my website, Flickr, Instagram and Twitter. Don’t hesitate to reach out and ask me any questions you might have on my social media accounts or my email is: anthony@anthonyquintano.com.
I hope this blog post is helpful for anyone who was just starting out in night sky photography! If you have any questions for me or for Anthony, be sure to leave them below! If you liked this post, you might also enjoy 3 Lightroom Hacks For Amateur Photographers or Tips For Food Photography.
 How To Make The Background Of A Photo Transparent On Mac
 My Photography Gear
 What You Need To Know About Drones + Drone Photography