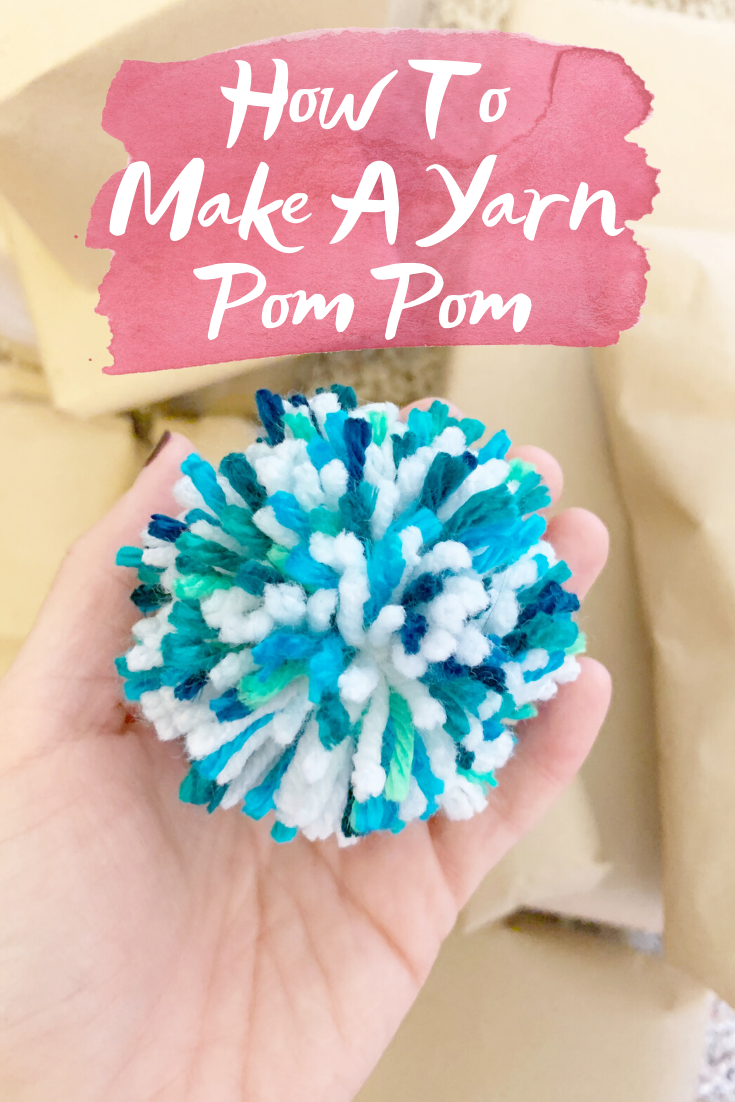
Ever since I shared my DIY yarn pom poms over on Instagram, I’ve gotten quite a few of messages asking for a post on how to make them. With me making so many for the holidays, I figured it was a good time to share my step by step pom pom making instructions! These easy fluff balls are good for multiple different uses – garland, gift tags, ornaments, etc – and now that I’m getting the hang of it, I plan to make different colors for various occasions throughout the year. Without further ado, here is how to make a pom pom!

How To Make A Pom Pom
Before you get started, it’s important to note that for my exact sizes and fluffiness you will need a pom pom maker. I have tried to make a pom pom with a fork and tried to make a pom pom with a bent hanger and neither have turned out as well for me. I like this pack of four makers, because it gives you the opportunity to make various sizes pretty easily.
 For my pom poms, I like to use more than one type of yarn for each one, so having a stockpile of varying colors of yarn on hand is helpful. I am not particular when it comes to yarn type (though some people are!), and I’ve used up to 5 different types in a single pom pom. Just make sure you’re using a thicker type yarn (not string-like) and you’ll be fine! Good places to find affordable yarn in Michael’s, Walmart and Amazon.
Now that you have your necessary equipment and the yarn, let’s get started!
Step By Step Instructions
First, open up one side of whichever sized pom pom maker you want to use.

Then, making sure your yarn is matched up equally on the end, begin wrapping it around the open side.

Wrap the entire way around the open side. To make mine fuller, I wrap it around a lot — usually until the bottom section is flush with either pink side.
Now, close that side and begin wrapping the other side of the maker.

When you are finished wrapping, cut the yarn off close to the white portion of your maker. It will look like this:

Using a pair of sharp scissors (I recommend buying special scissors for yarn crafting), cut along the seam of the maker. The special scissors help to make the cutting easier since it’s a small space and large scissors aren’t usually sharp enough!

Make sure you cut all the way through and no yarn is still connected. Your maker will look like this:

Now, using a new piece of yarn, tie a knot around the edge of the maker. I do a second knot to make sure it’s tight.

Now, you can either decide to make your pom pom equal on all sides, or keep the two strings long to make it easier to hang or attach to something. Trim your yarn accordingly.

When you’ve cut your string, lift each side of the maker one at a time.

When both sides have been lifted, gently pull apart the maker to reveal your new pom pom! Don’t be alarmed if it doesn’t look fully round or puffy right away.


Gently roll the ball between your hands, trim anynecessary parts and TA DA! A perfectly plump yarn pom pom!

I hope this tutorial was helpful for anyone who has been curious + if you decide to make some, I’d love to see your projects!
If you liked this post, you might also enjoy my DIY Instagram Wall or Tissue Paper Flowers!
 How To Clean A Velvet Couch
 DIY Pom Pom Christmas Tree
 How To Make A Rental Your Own: Master Bedroom Edition