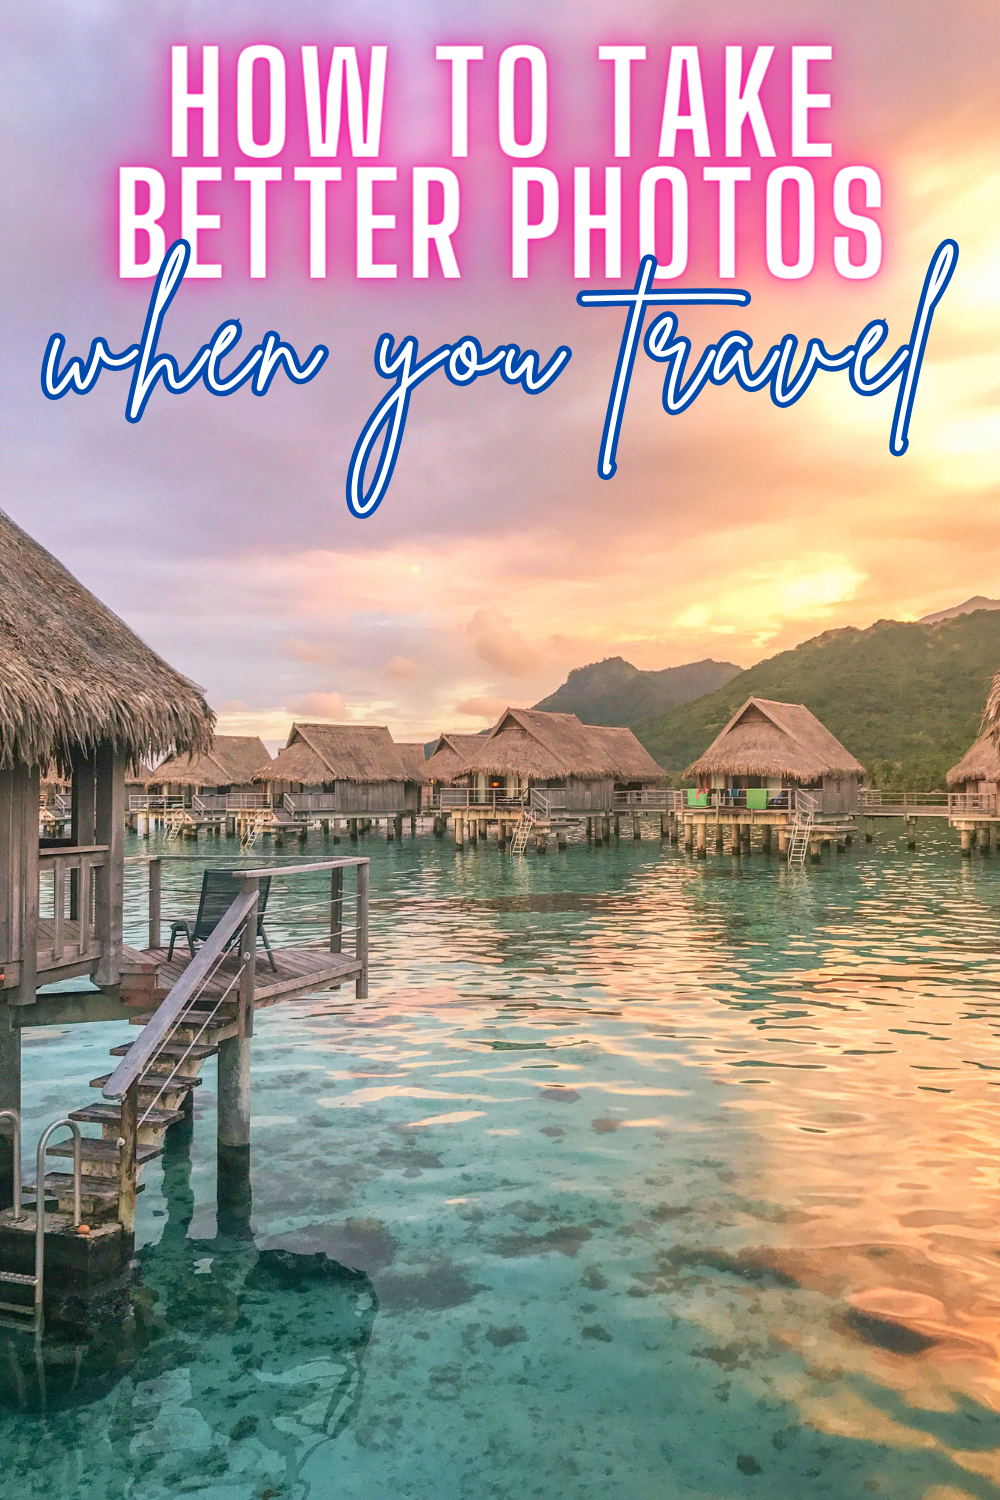
Looking to take better photos when you’re traveling? Here are all my best travel photography tips for beginners.
Traveling is hands-down one of my favorite things to do. It’s where I spend the majority of my money…investing in trips! For me, one of the most rewarding aspects of traveling is being able to capture our memories with photography. I love being able to look back on past trips through the photos I’ve captured. Whether you’re an amateur photographer or a seasoned pro, I’m sharing techniques, equipment recommendations and composition tips to help you capture stunning photos during your travels.

Travel Photography Tips For Beginners
Plan Ahead
Before you set off on your adventure, take some time to plan what kind of photos you’d like to take. Research the locations you’ll be visiting, identify key landmarks, and find out the best times of day for photography. This preparation will help you make the most of your time and increase your chances of capturing the type of shots you want. Believe me, I’ve left it up to chance and always wind up disappointed when I get home and realize I don’t have a handful of the photos I really wanted.
The Right Equipment
While you can take great photos with a smartphone, investing in a camera can significantly improve your photography. These are my equipment recommendations:
Camera: Consider a DSLR or mirrorless camera for their versatility and image quality. Some popular options include the Canon EOS 5D series, Nikon D7000 series, or Sony Alpha series.
Lenses: Invest in a variety of lenses to cover different focal lengths. A wide-angle lens (16-35mm) for landscapes, a standard zoom (24-70mm) for versatility, and a prime lens (50mm) for portraits and low light conditions.
Tripod: A sturdy tripod is essential for long exposures, night photography and ensuring sharp images. I use this tripod and it’s very sturdy. I started with the Amazon Basics tripod, but it eventually snapped.
Filters: Graduated ND filters can help balance exposure in landscapes, while polarizers reduce reflections and enhance colors. These are especially useful if you’re shooting in harsh sunlight.
Master the Basics of Exposure
Understanding the basics of exposure on your camera is key in capturing beautiful photos. When I was first starting I had seasoned pros give me their best tips and it was helpful to learn 1:1 with them. Learn how to adjust:
Shutter Speed: Faster speeds freeze motion, while slower speeds create motion blur. Use fast speeds for action shots and slow speeds for creative effects.
Aperture: Adjust the aperture to control depth of field. A wide aperture (f/1.8) creates a shallow depth of field, perfect for portraits, while a narrow aperture (f/16) keeps everything in focus for landscapes.
ISO: Increase ISO for low-light conditions but be cautious as higher ISO values introduce noise (visual distortion).
Composition Tips
Composition plays a role in the visual appeal of your photos. Here are some of my favorite composition tips:
Rule of Thirds: Divide your frame into thirds both horizontally and vertically, and place key elements along these lines or at their intersections.
Leading Lines: Utilize natural lines in the scene (think roads, rivers or fences) to guide the viewer’s eye through the image.
Framing: Frame your subject with elements in the foreground (archways, trees, etc.) to add depth and interest.
Symmetry and Patterns: Capture symmetrical scenes or patterns for a visually pleasing and balanced composition.
Foreground Interest: Include interesting foreground elements to add depth and context to your photos.
Experiment with Lighting
Lighting can make or break a photograph. Experiment with different lighting conditions:
Golden Hour: Shoot during the golden hour (shortly after sunrise or before sunset) for soft, warm and flattering light.
Blue Hour: Capture the unique, deep blue light that occurs just before sunrise or after sunset. For me this is the hardest light!
Night Photography: Try your hand at night photography to capture the beauty of city lights or starry skies.
Editing
Don’t underestimate the power of editing, or post-processing. I edit all my photos in Adobe Lightroom by adjusting exposure, contrast, color balance and so much more.
If you liked this post, you might also enjoy A Beginner’s Guide To Night Sky Photography or 21 Safari Photography Tips

 How To Spend 2 Days In Salem, Massachusetts
 How To Choose Your Next Vacation Destination
 How Much Does An African Safari Cost?