Considering painted sugar cookies to level up your next celebration? Here’s everything you need to know about how to paint cookies.
For as long as I can remember, sugar cookies with royal icing have always been my favorite to make. There is something special about being able to customize cookies with frosting that doesn’t smear. So, when I saw the trend of painted cookies swirling around the internet, I knew I wanted to give it a try. It’s safe to say painted sugar cookies are my new favorite thing! With a little prep work, these easy cookies can become a fun art project for you or your kids and are sure to make anyone really happy. It helps they are pretty hard to mess up 😉 If you enjoy pretty cookies, today’s Painted Sugar Cookies are for you!

Painted Sugar Cookies
One thing to know about this hand painted sugar cookie recipe is that it does require a bit of time. In my case, it took two days to get them all finished. As long as you know that ahead of time, you’ll be good to go!
The first thing you will want to do is use a good sugar cookie recipe and cut out all your cookies. I mixed up my dough, let it sit overnight, then rolled out the dough, cut my cookies and baked them the next day. When the cookies were completely cooled (about 3 hours), I made a double batch of easy royal icing (I watered my down just a bit to make sure it was really smooth) and dipped all the cookies. Then, I let the royal icing set up for about 2 hours (possibly shorter if you live in a cooler/less humid place), making sure to place each cookie on a piece of wax paper so they wouldn’t stick.

The wax paper is an important step, because sometimes the royal icing will drip to the other edge of the cookie, creating a bond with whatever the cookie is sitting on. If it’s a metal pan or wrack, lifting the cookie off may cause the icing to crack, ruining the smooth white base. Just trust me on this one and use wax paper!
How To Paint Cookies
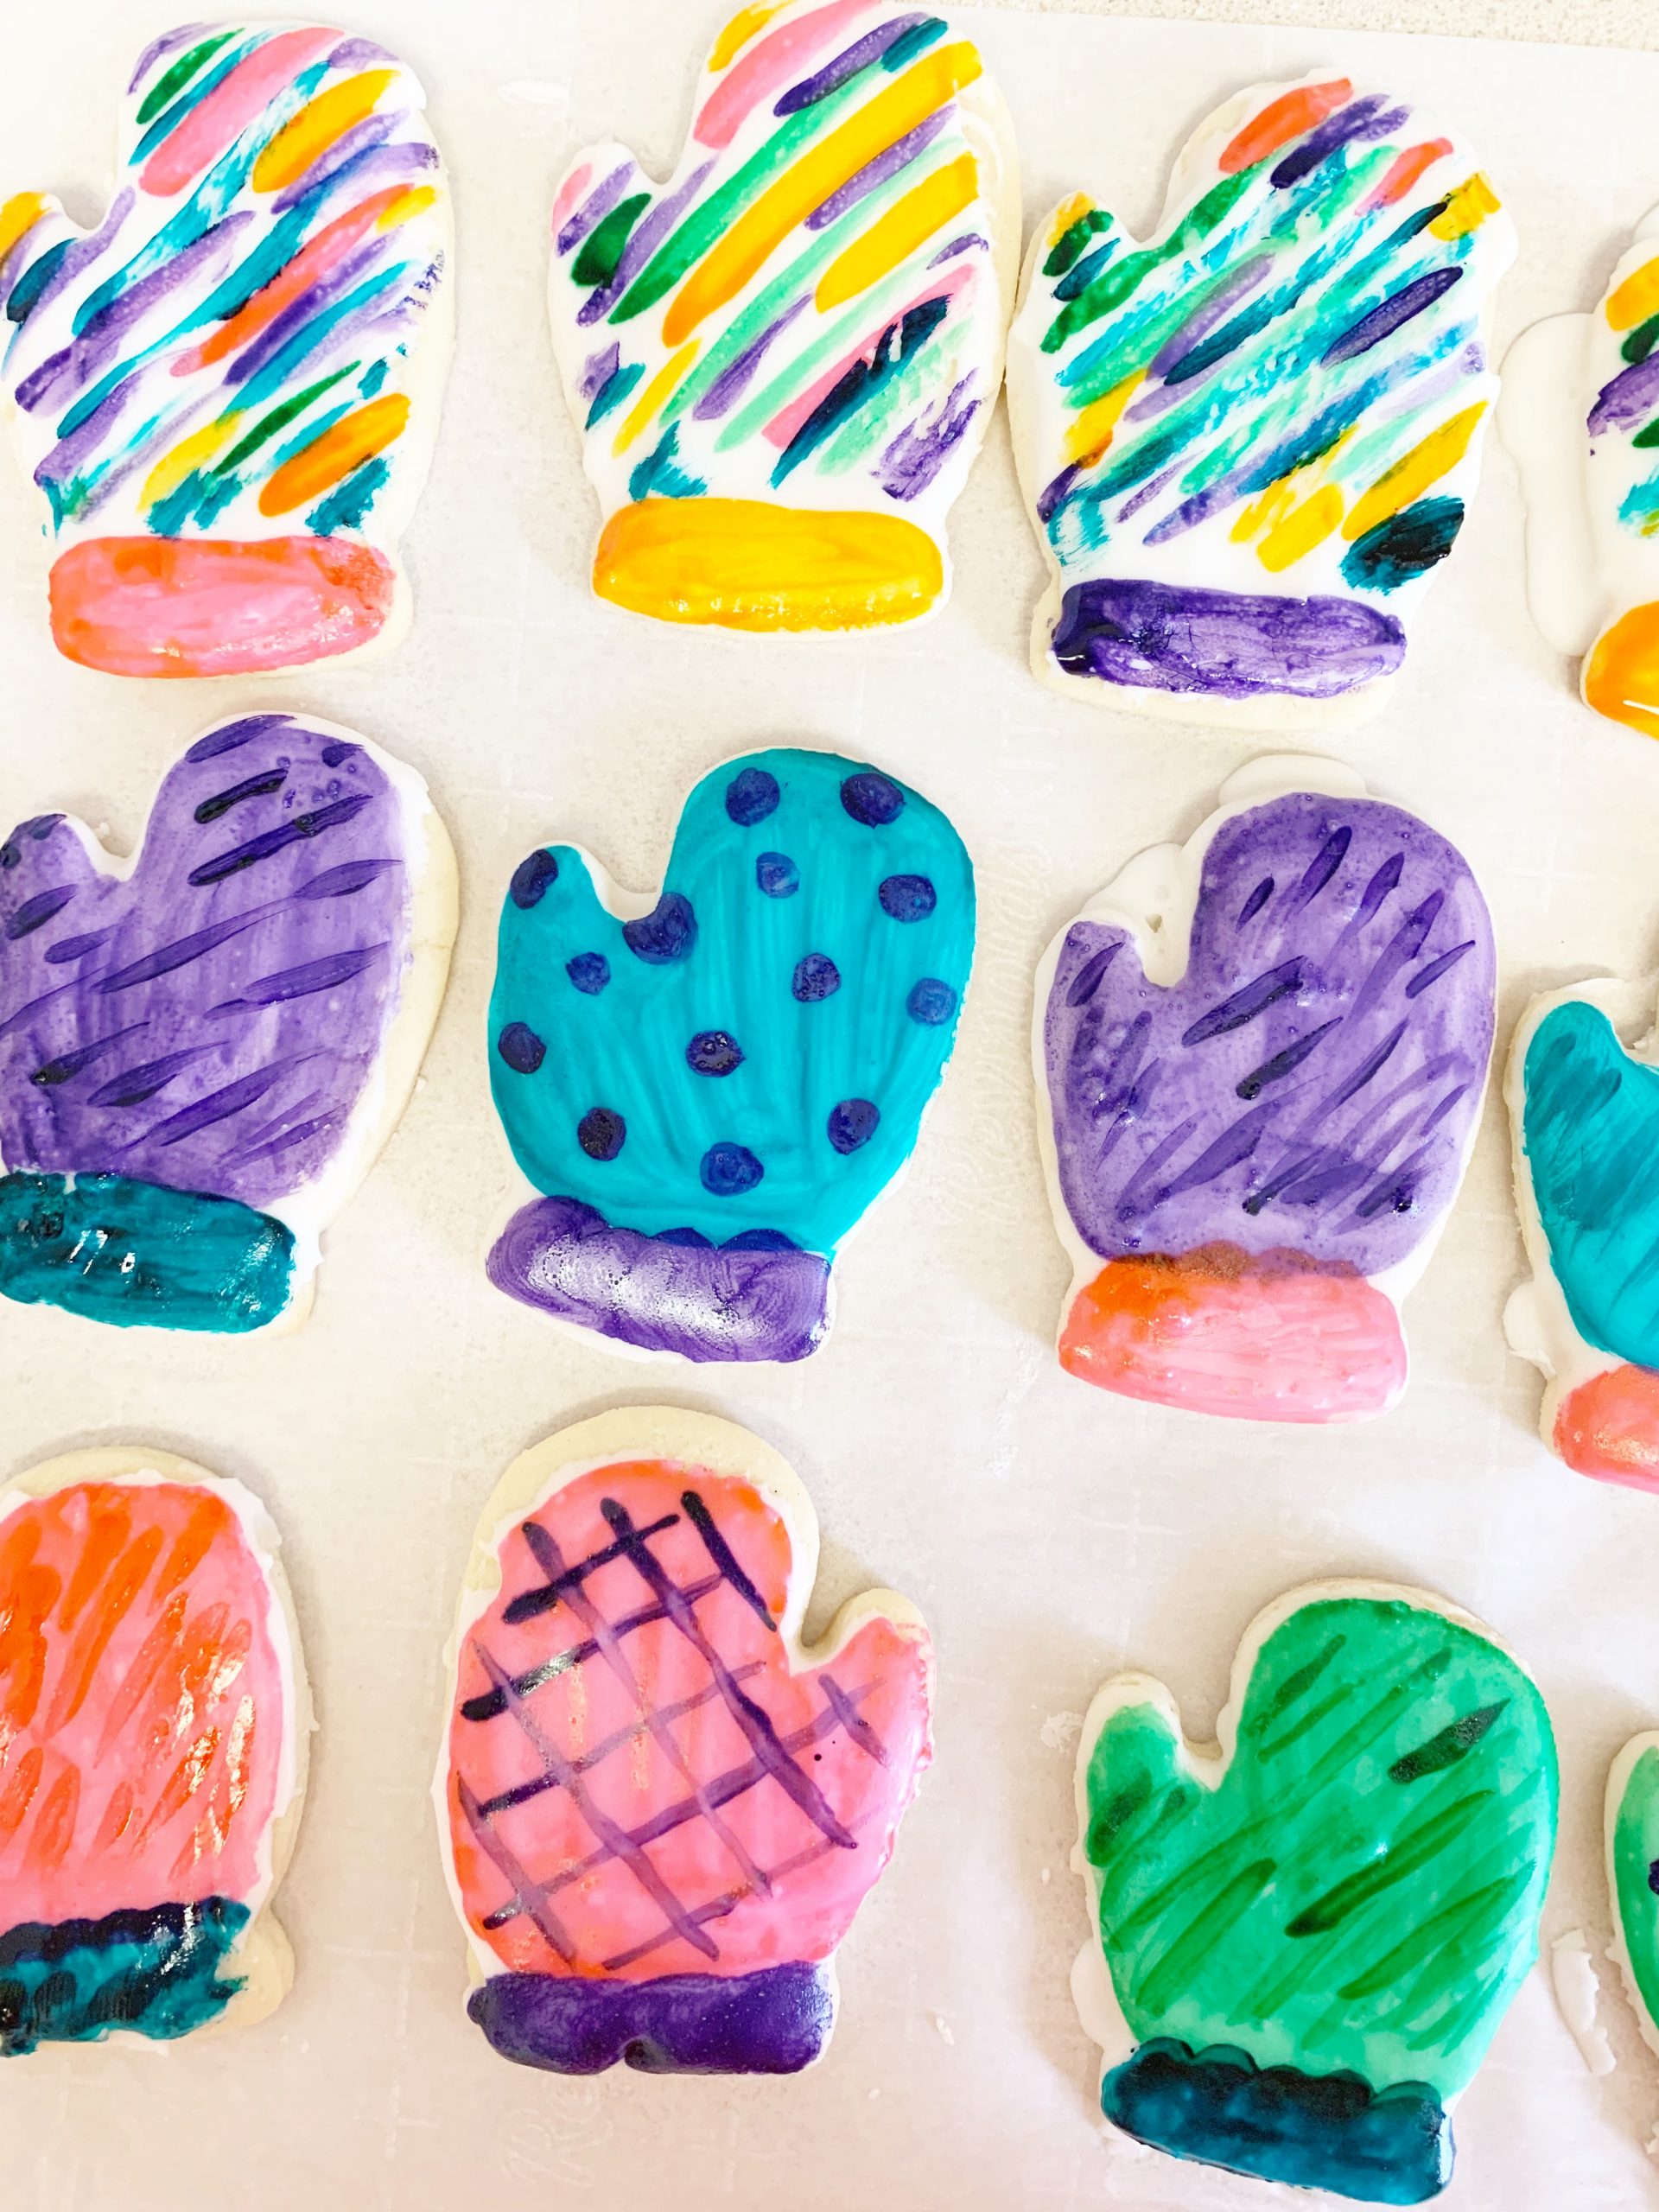
Now, it’s time to paint your cookies! In order to get the best possible result, I recommend using food coloring gels. I can never find them in stores, so I recommend ordering them online. I also purchased inexpensive makeup brushes, because I couldn’t find regular paint brushes I liked in the sizes I wanted. I found that small makeup brushes (under $10 for 12 brushes) worked the best!

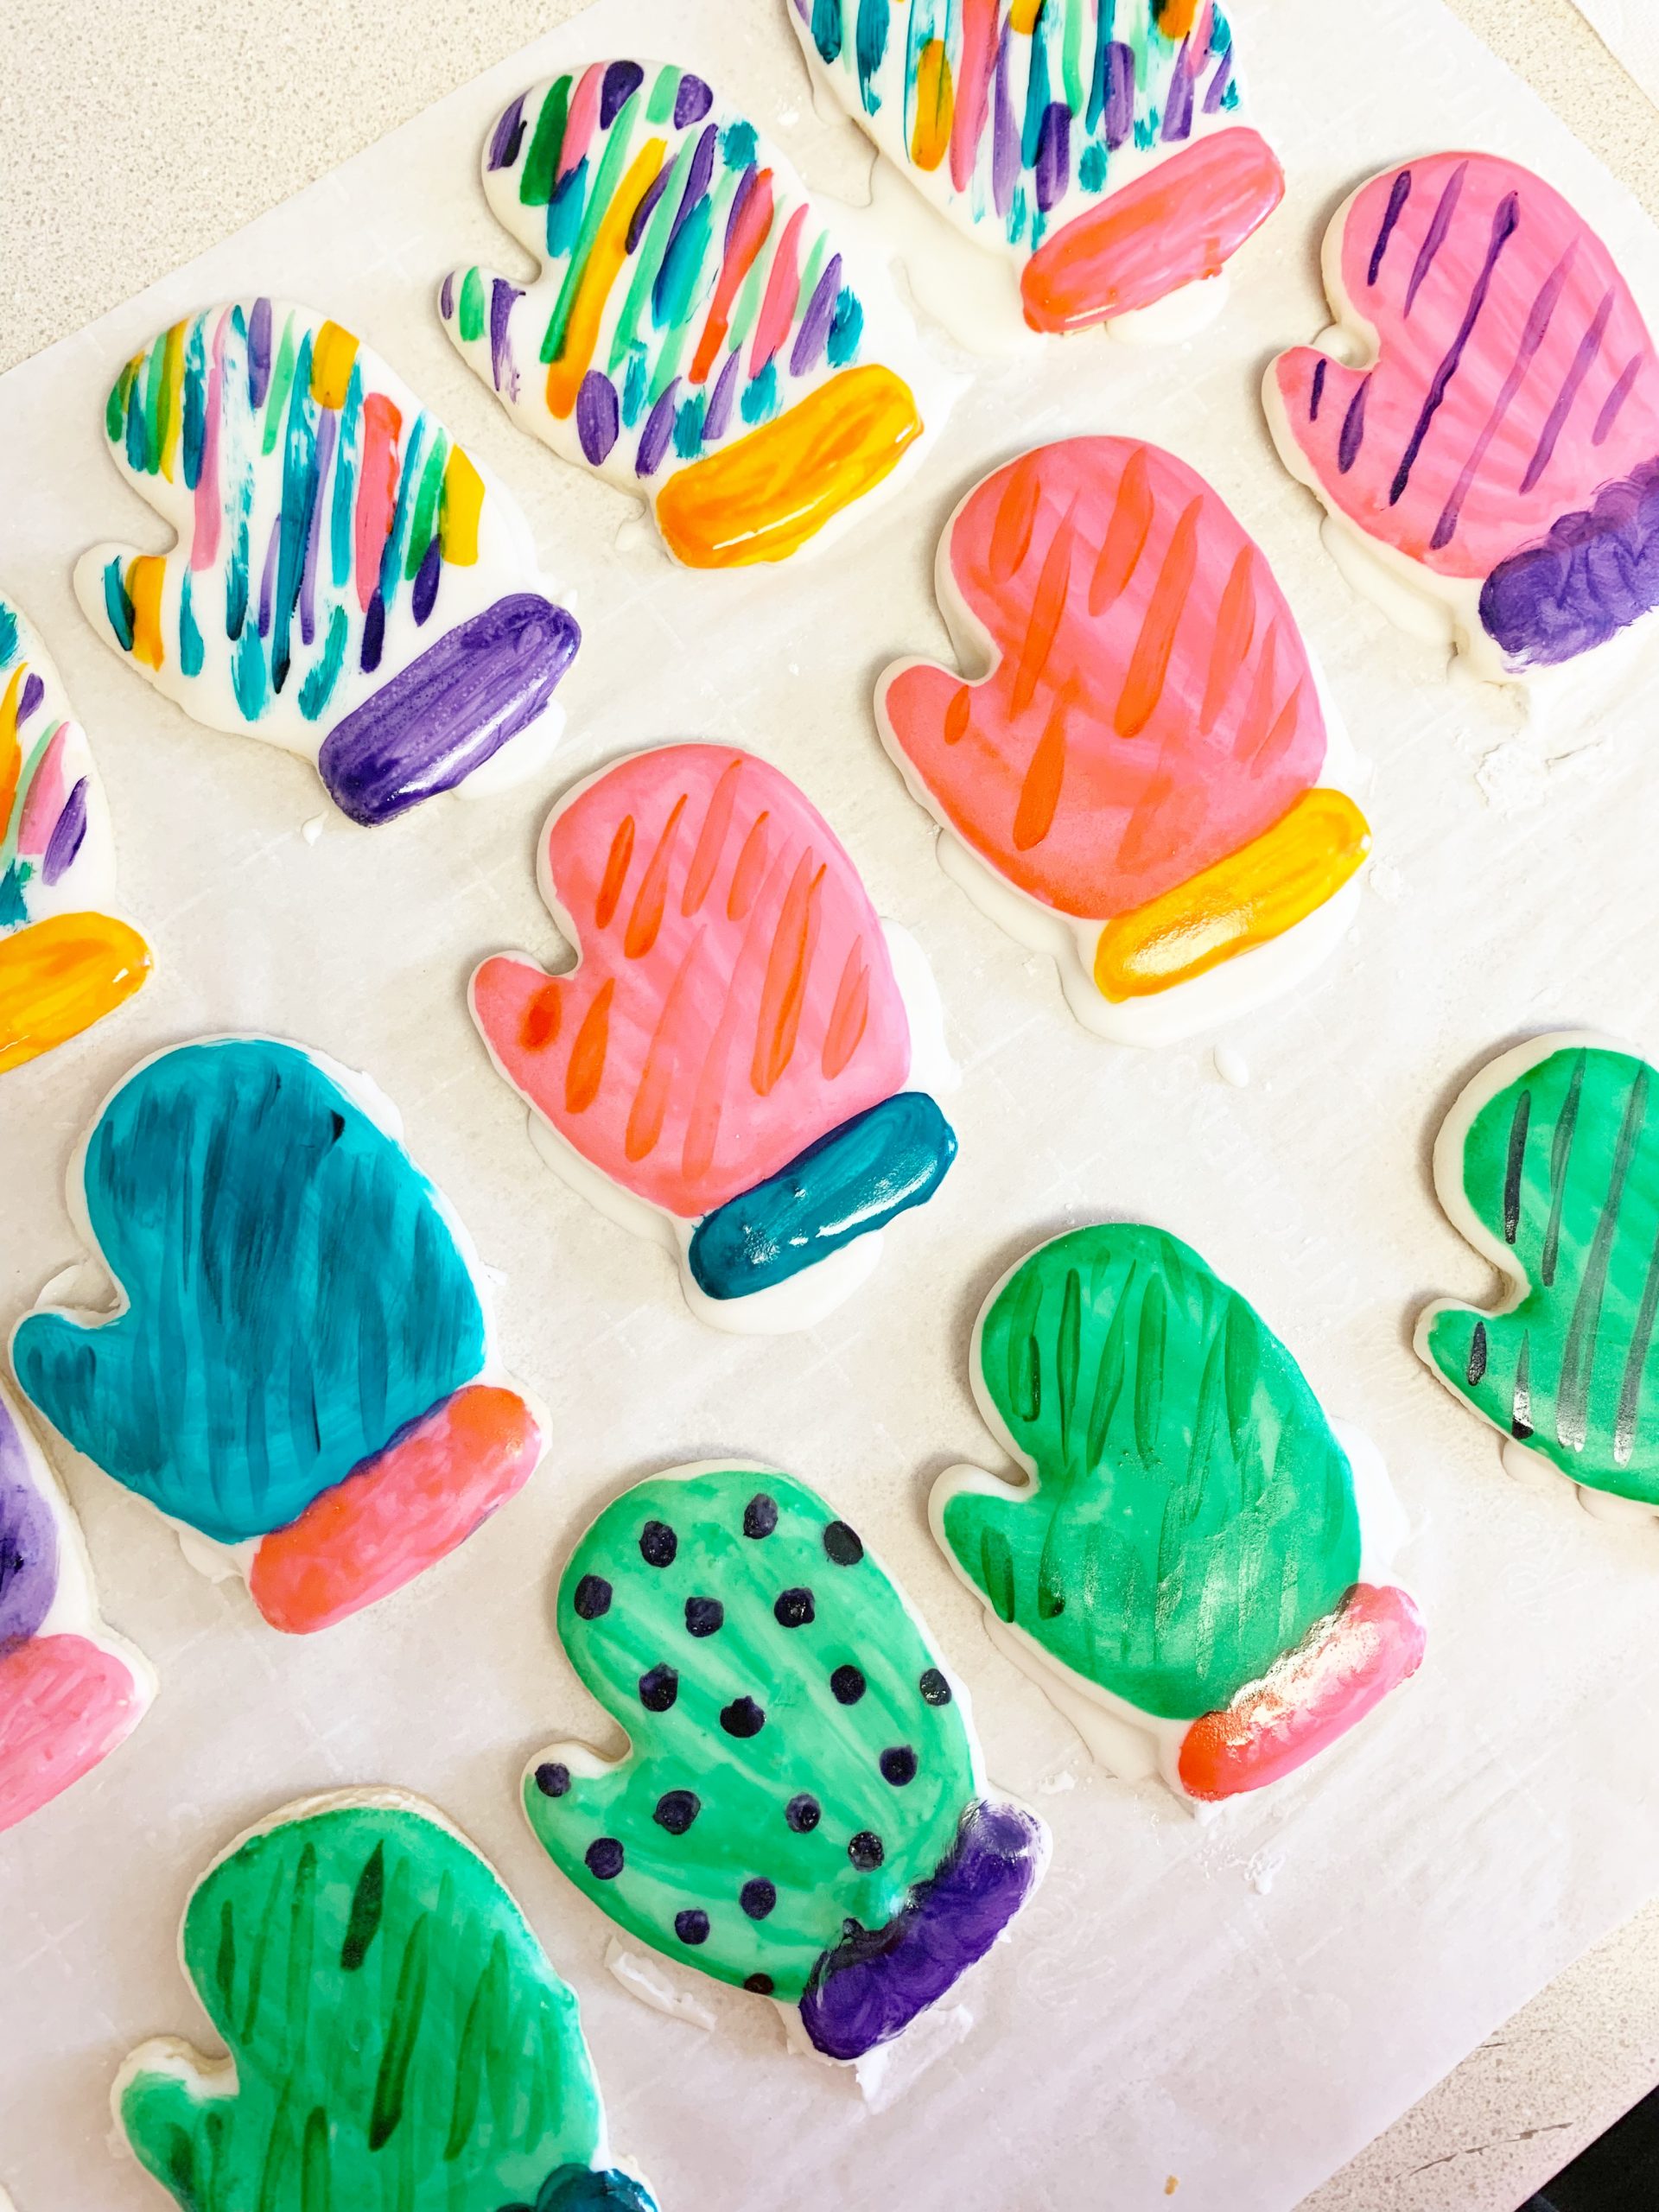
I used a little bit of water and gels in metal mixing cups (so nothing would get stained) to achieve all the colors I wanted for these particular cookies. You can see I went a little wild mixing colors (MORE IS MORE!) and making mine pretty colorful, but you can do as many or as few colors as you want!

One important tip for painting cookies is that it takes some time for each color layer to dry, so make sure that you are painting your cookies in an area where they are safe to dry out for a little bit. If you are doing multiple color layers, I would recommend about 20-30 minutes (depending on air temp in your house) for each color to dry without smearing.

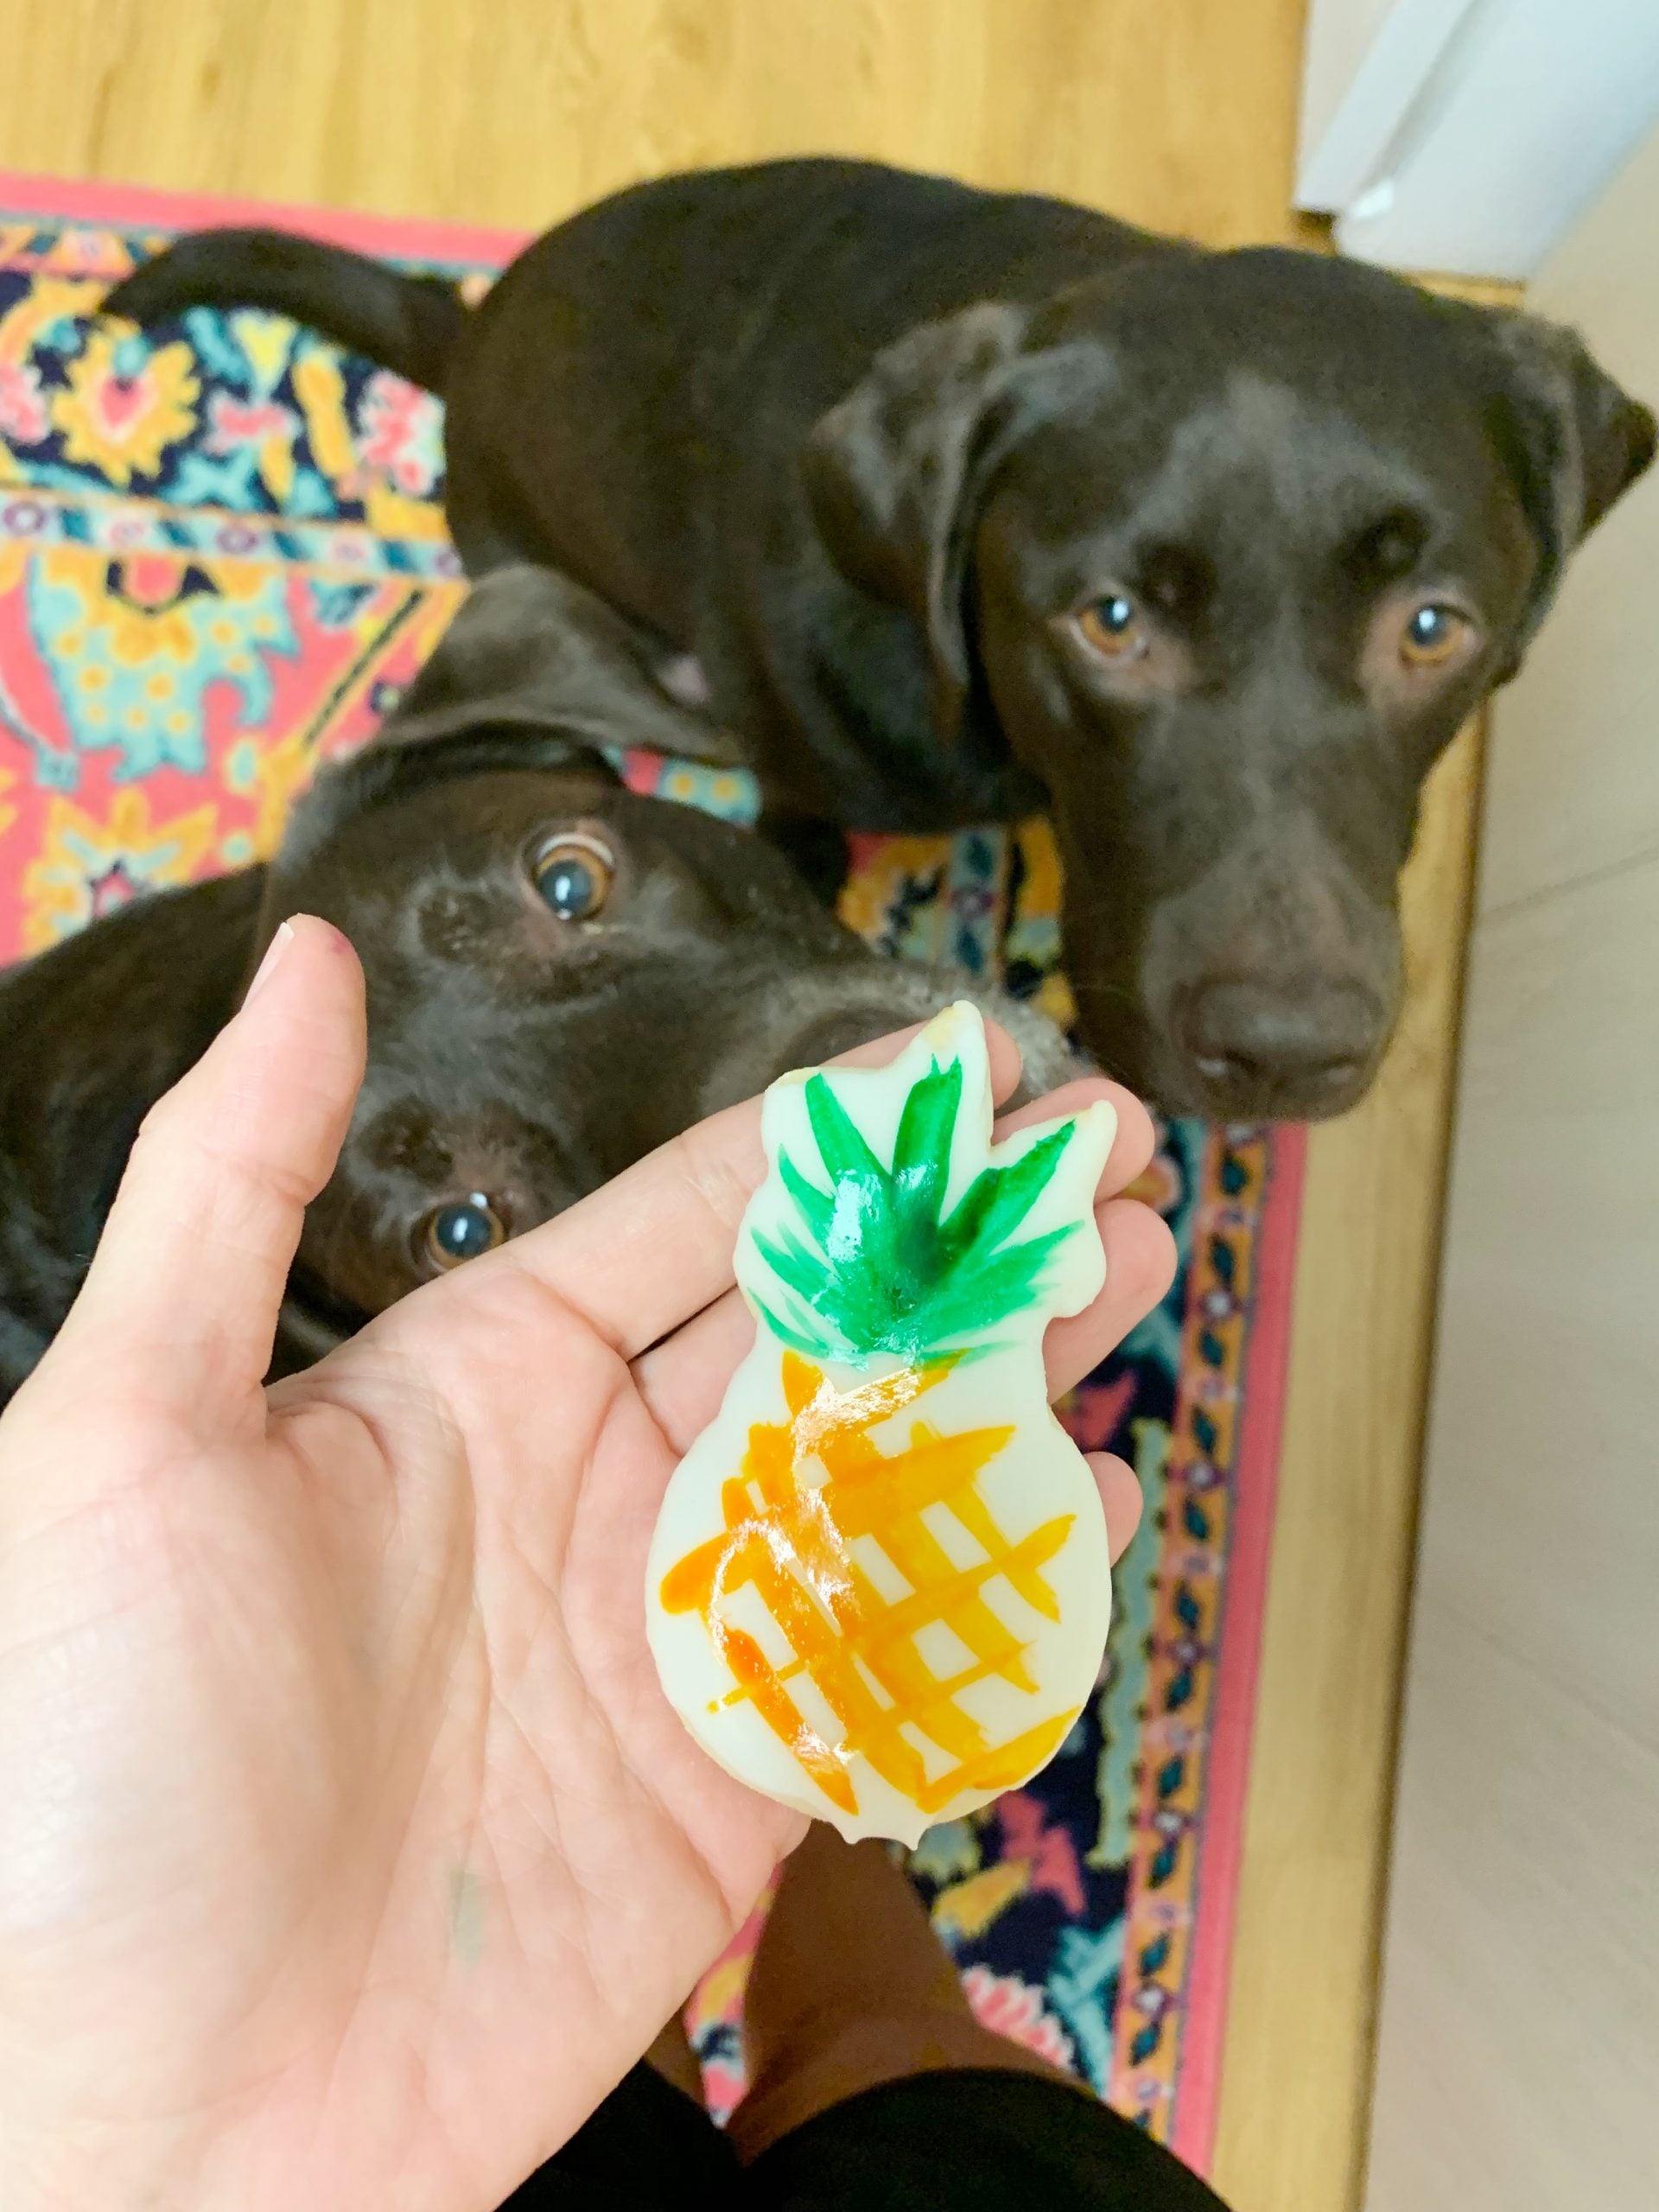
I hope that these fun hand painted cookies bring you as much joy as they bring me! If you make them at home, I’d love to see them, so be sure to tag my on social @ByKaitHanson.
If you liked this recipe, you might also enjoy Northern Lights Sugar Cookies or 15-Minute Shortbread Cookies
 Thai Crispy Rice Salad
 Grilled Peach Salad with Steak and Burrata
 Chicken Caesar Salad Sandwich